Some shrines give Link actual hazards to navigate. There’s nothing worse than almost having a puzzle done and then dying to a fall or lava. Fortunately, we know of the best ways to get around these dangers. Here is our full walkthrough for the Timawak shrine in Zelda: Tears of the Kingdom.
Zelda: Tears of the Kingdom Timawak Shrine Walkthrough
You’ll find the Timawak shrine south of Goron City and the Marakuguc shrine at the coordinates 1799, 1638, 0311.
Part One
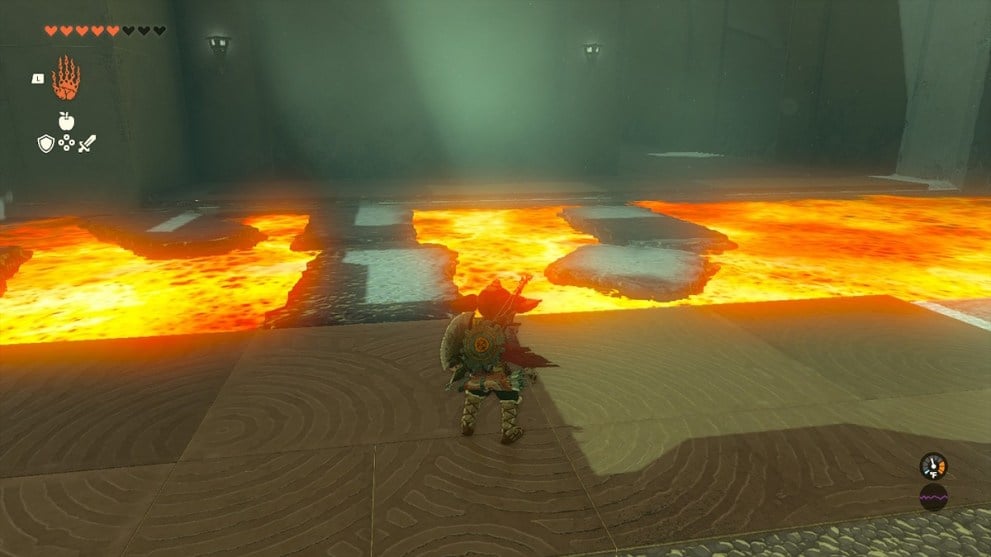
Wait at the lava river until you see a pair of platforms that can easily get to the other side. Avoid the square platforms as they are less stable, and the wrong landing from a jump can dip you into the lava.
Part Two
Kill the construct ahead and look to your right. The next platform ahead houses the ball, so you’ll need to get there. The best tactic is using Recall on one of the long vertical platforms. Ride this to the platform, but don’t worry about the ball.
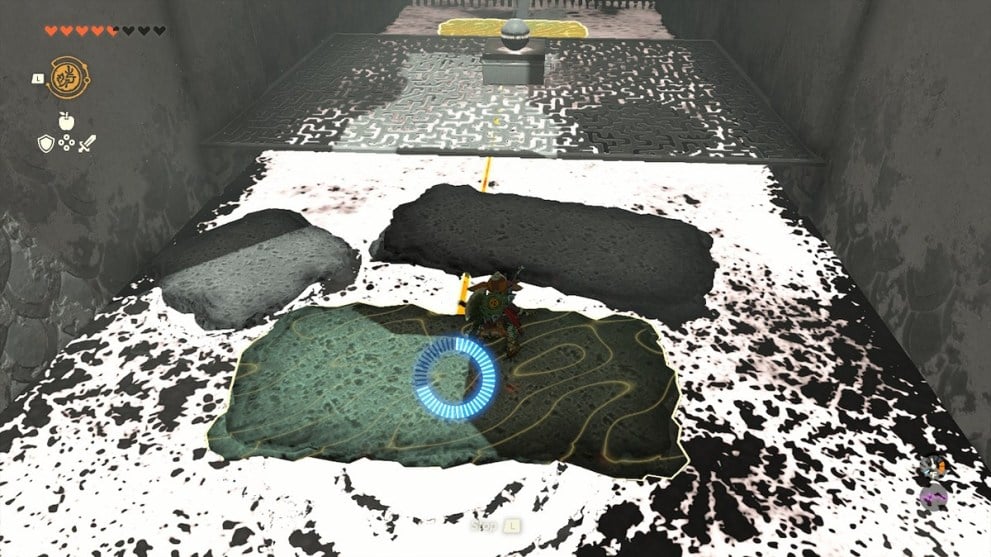
Instead, look for another long vertical platform being created. Pick it up with Ultrahand, and set it in front of the chest cut out in the back right. When it gets close to the ball platform, hit it with Recall so it will move you back to the chest area. Opening it gets you a 26-defense Strong Zonaite Shield.
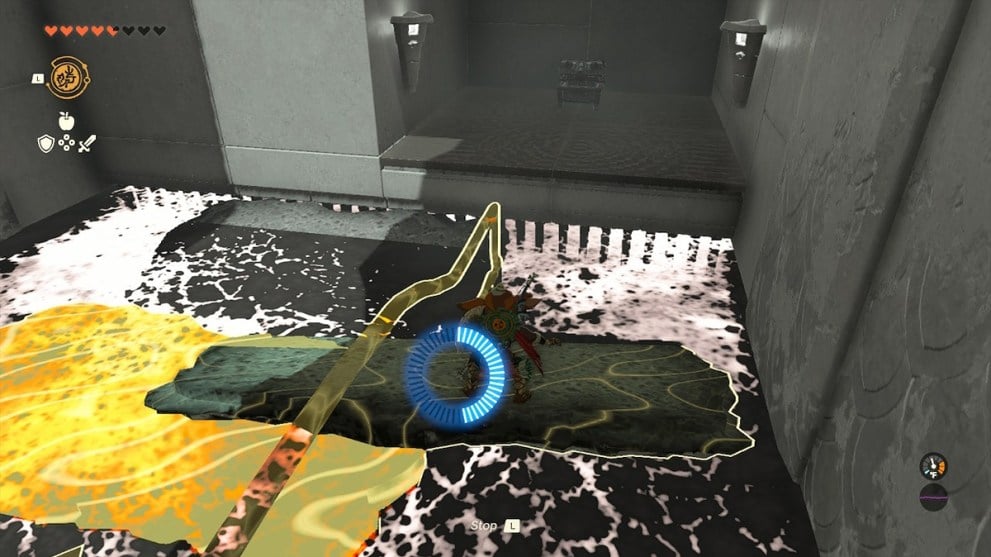
Return to the ball platform and pick it up, dropping onto only a long platform to ride back to the hole. When you are close, throw the ball at an angle toward the hole rather than straight across so it doesn’t fall into the lava. Climb up after the ball and place it into the hole to unlock the gate.
Part Three
Before going through the gate, turn around and pick up one of the long platforms. If you angle it like the screenshot below, you can fit it through the gate.
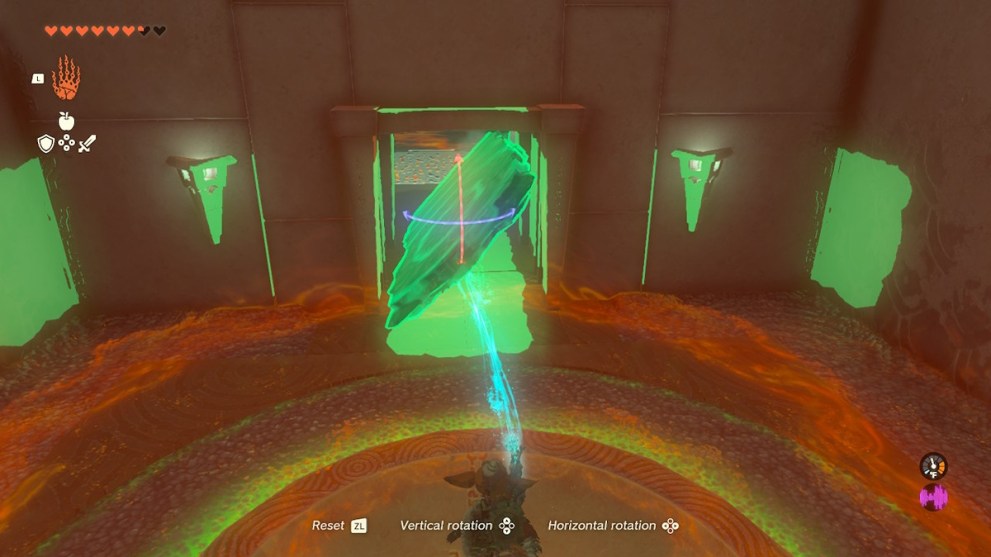
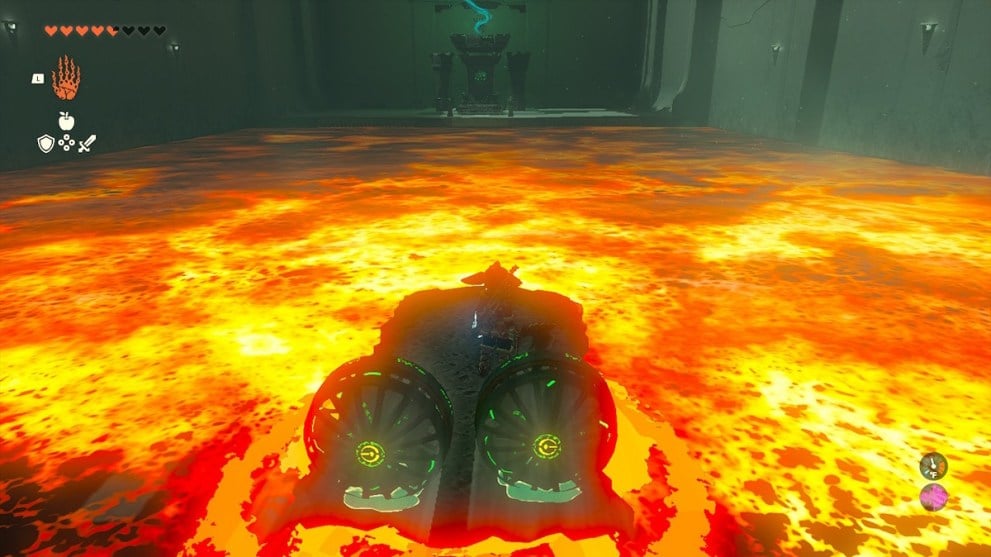
Now, set it down and connect the two nearby fans onto the back to make a raft. With the fans attached, put it in the lava. You don’t have to worry about the current as the fans will block it. Now climb on before activating them. This will take you on a straight shot to the Light of Blessing pedestal so you can exit the shrine.
This concludes our walkthrough of the Timawak shrine in Zelda: Tears of the Kingdom. Check out our links below for more shrine guides and general tips to help you survive Hyrule.
