


It’s fun when a shrine is a little mini-game where it’s all about building something simple for a smaller goal. While the shrines that offer a sprawling challenge are still enjoyable, there’s something nice about one that is smaller in scale. Here’s our full walkthrough for the Kamatukis shrine in Zelda: Tears of the Kingdom.
Zelda: Tears of the Kingdom Kamatukis Shrine Walkthrough
The Kamatukis shrine is found southeast of the Kimayat shrine, not far from Skull Lake. The coordinates are 3431, 3355, 0071.
There are really only two puzzles to this whole shrine, but they do take a little bit of technique.
Chest Puzzle
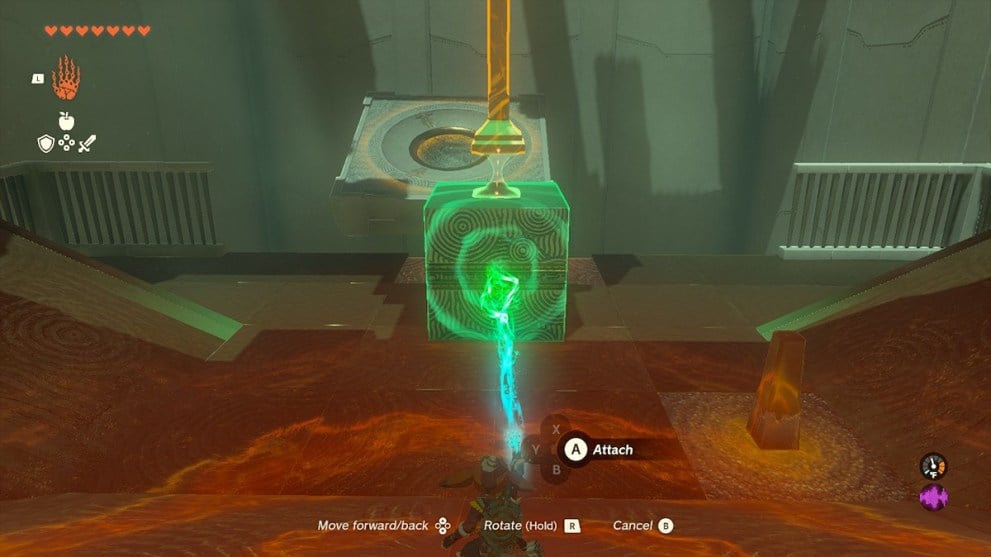
Turn to your left upon entering and head into this side area. You’ll want to pick up the cube and attach the top of it to this swinging piece. Make sure you attach it directly to the middle of the cube.

Use Ultrahand on the cube and walk backward to the entryway, keeping it straight. Lift the cube up to just about parallel with the ground.
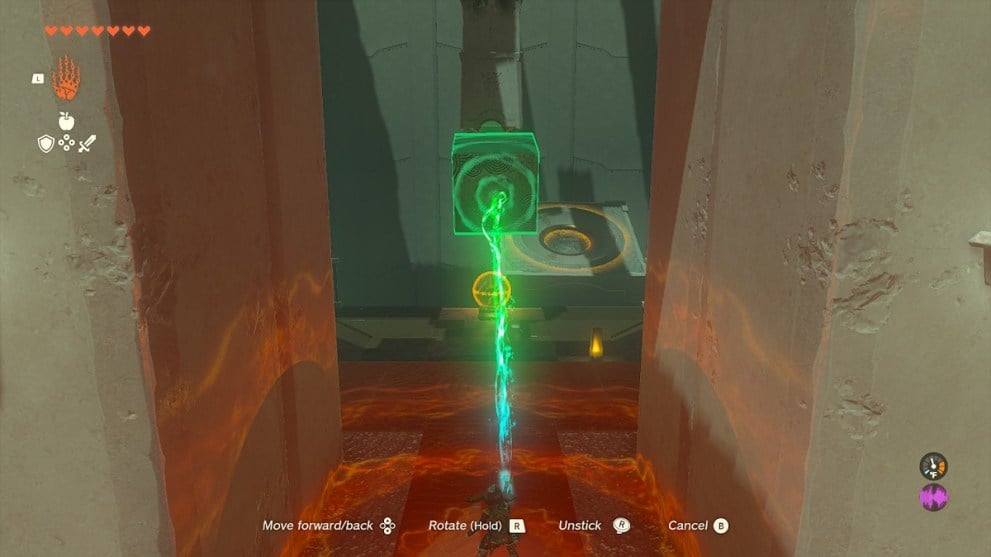
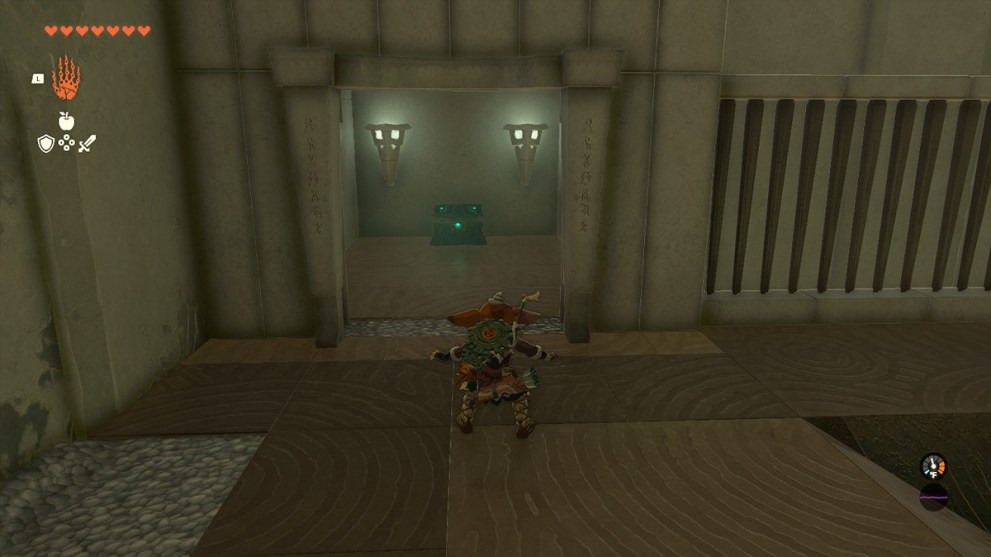
As the moving target starts coming back from the right side, release the cube. This should be the correct timing to hit the ball right into the goal. It’s a little shallow, so this might take a couple of tries. Whenever you need to replace the ball, hit the orange pillar. Doing so will open up the gate to the left of the entryway allowing you to open the chest for the 15-strength Mighty Zonaite Longsword.
Main Puzzle
With the chest opened, return to the main area and repeat the above process almost entirely. However, you will want to slightly angle the cube to the left rather than straight this time. The reason here is that the ball will usually hit that ramp in front and then curve around.
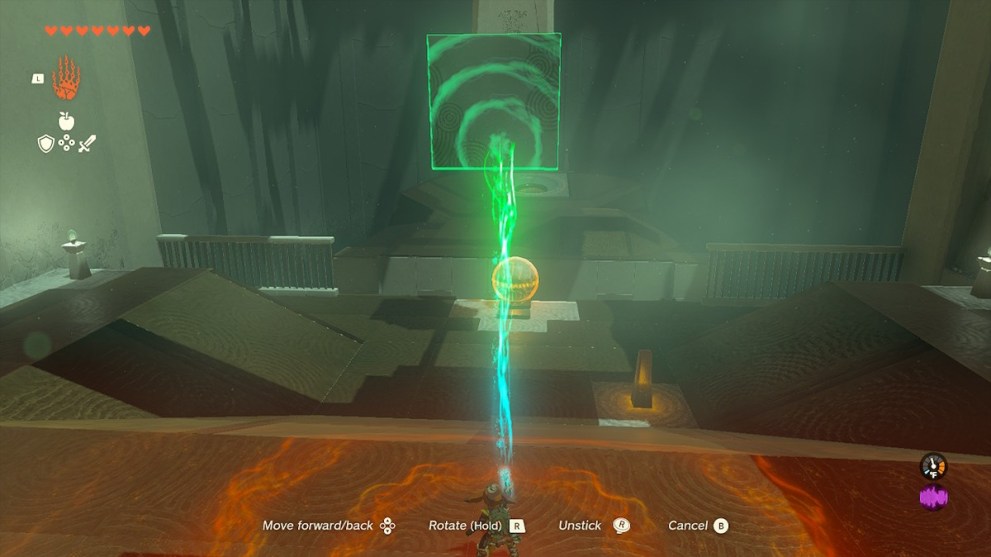
There’s a bit of a wait this time as it won’t just end up at the hole immediately, but it will eventually get there. When it does, the gate to the right will open, and you can collect your Light of Blessing and exit.
Hopefully, this Kamatukis walkthrough for Zelda: Tears of the Kingdom will get you to the end of the shrine without any frustration or hassle. For more guides to help you survive Hyrule and find the best gear, check out our links below.
About the author

