
Pikmin 3 Deluxe Pikmin 3 is now out on the Nintendo Switch and you can finally control your army of Pikmin on the go for the first time. There are a couple of features in the game that are locked until you reach a certain point in the story but luckily it doesn’t take long to get access to the camera. Here’s how to use photo mode in Pikmin 3 Deluxe.
How to Use Photo Mode in Pikmin 3 Deluxe
Once you take control of Alph in the main story of Pikmin 3 Deluxe, you will eventually find a KopPad lying on the ground. The game will prompt you to build a bridge with your 10 Red Pikmin so it literally cannot be missed.
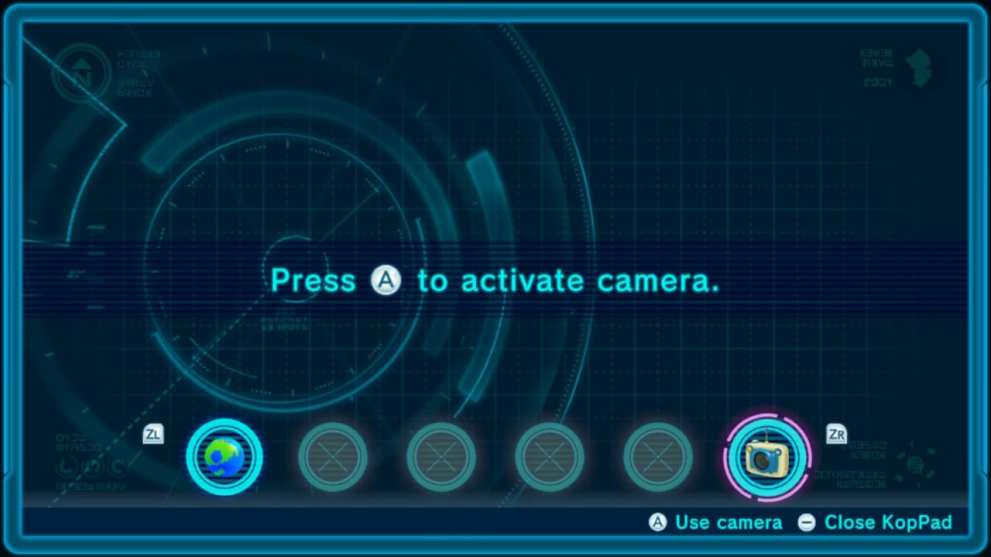
Now that you have the KopPad, simply press the Minus button to open it up, and then press the right or left triggers to scroll over to the camera icon –press A to activate it.
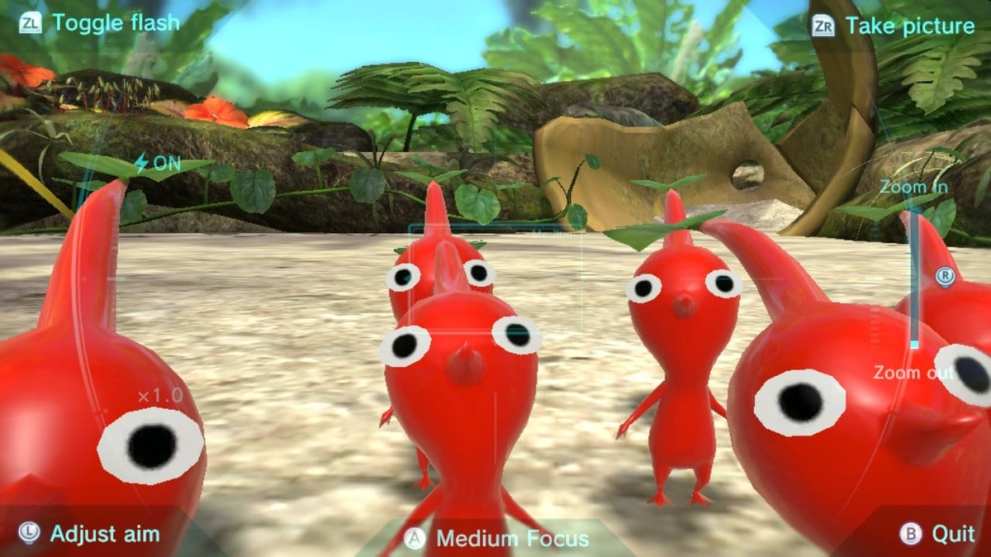
Now that the camera is opened up, you’ll have a first-person view of your surroundings –it turns out that Alf and the gang are very, very tiny!
You have several options here on the camera screen. You can press ZL to toggle flash if you’re in a dark environment; you can zoom in and out with the right stick; you can press A to auto-focus, and you can snap a picture with ZR.
When the picture is taken, it’ll save to your Switch photo album like any other game screenshot.
And that’s all you need to know about how to use photo mode in Pikmin 3 Deluxe. For more tips and tricks, do be sure to search Twinfinite. You can also read our review to check out our thoughts on the game.
And as always, if you have any other questions, feel free to drop a comment down below and we will get back to you ASAP.