
Among all of the exciting new content added in Patch 6.4 of Final Fantasy XIV, there is of course a new dungeon to traverse through. Called the Aetherfont, it takes players from a glacial landscape full of polar bears to (???). While the dungeon is not exceptionally difficult, there are new mechanics used by each of the bosses found within that still require a good understanding to overcome. To give yourself a smooth journey through the Aetherfont, here is our FFXIV Aetherfont Dungeon Guide.
FFXIV Aetherfont Dungeon Guide
Set up in much the traditional way as previous dungeons, the Aetherfont includes three main boss fights along with the usual flurry of creature mobs in between as you progress.
Also note that since this is a new Level 90 dungeon, you will need to complete it in order to re-unlock the Expert Roulette in Duty Finder. You can also make use of the Trust or Duty Support NPCs if you don’t want to queue with other players.
With that, here is each of the three bosses found in the Aetherfont, along with their main attacks.
Boss 1 – Lyngbakr
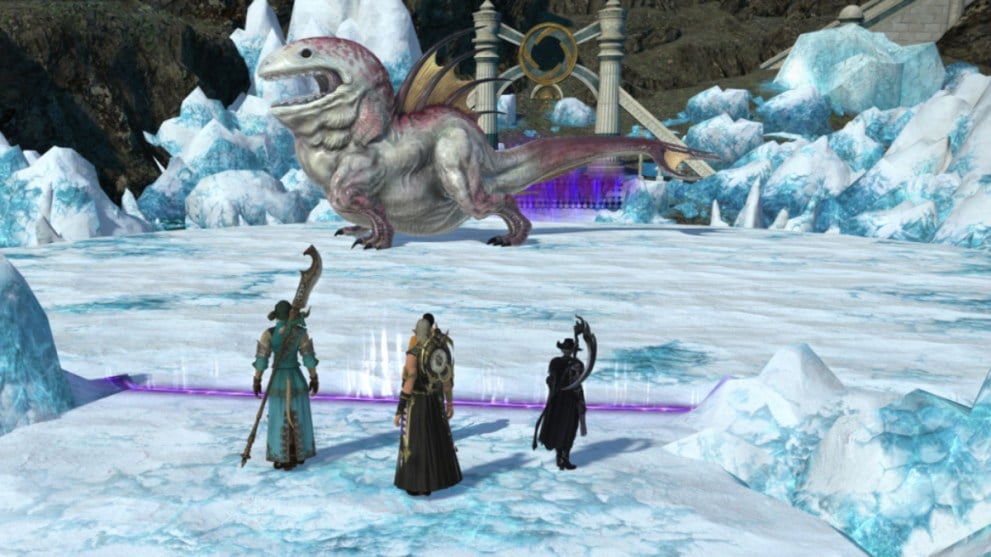
- Upsweep – A periodical raid-wide attack; heal through the damage.
- Sonic Bloop – Tank-buster attack; tanks mitigate damage with cooldowns, heal up afterward.
- Tidal Breath – A large AoE in front of the boss; take cover behind it to avoid.
- Body Slam 1 – Another raid-wide attack that leaves behind small, dark blue ice patches. A subsequent “Upsweep” attack will set off the icicle patches, causing them to rupture and explode in small circle AoEs. Dodge before they go off.
- Body Slam 2 – This one will spawn much larger blue icicles that will also explode in larger circle AoEs. One corner of the area will be safe from this, find it before they go off.
- Floodstide – Each player gets an AoE marker, so spread out as they go off, then regroup for a follow-up stack marker.
Boss 2 – Arkas
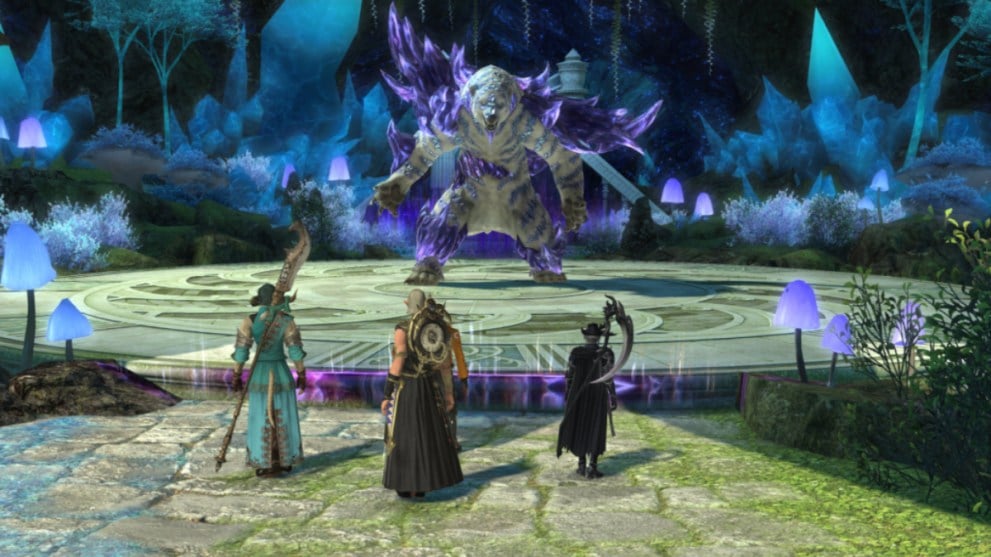
- Battle Cry 1 – Raid-wide AoE attack; heal through the damage
- Lightning Leap – A jump attack that ends in a circle AoE in a corner of the arena. The AoE will then spawn jagged lightning bolt AoEs across the arena that also need to be avoided. The boss will do this a second time on the opposite side of the arena so stay on your toes.
- Ripper Claw – Tank-buster attack; tanks mitigate damage, healers replenish health as needed
- Spinning Claw – The boss spins, creating a circle AoE beneath them, before jumping in the air and creating more lightning bolt AoEs on the ground when they land. These are wider line AoEs so watch out.
- Battle Cry 2 – More raid-wide damage plus the arena shrinks in size. Makes subsequent AoE attacks trickier to dodge so be careful.
- Lightning Claw – Begins as a stack mechanic so group up to share damage, then dodge the circle AoE that spawns immediately after.
Boss 3 – Octomammoth
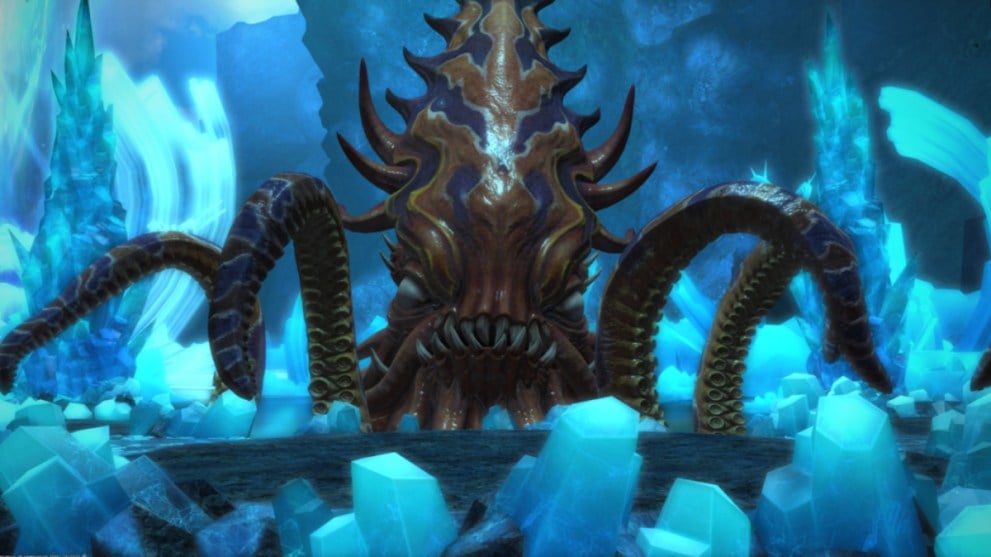
- Tidal Roar – Raid-wide attack; heal through the damage
- Octostroke – Find the platform with no tentacles in front or behind it to avoid AoE attacks.
- Vivid Eyes – A large blue donut AoE attack; hug the back of a safe platform to avoid damage.
- Saline Pit – Circle AoEs that hit every platform; stand in the light blue safe spot between two platforms to avoid.
- Tidal Breath – VERY large AoE attack in the direction the boss is facing; sprint to the opposite side of the arena behind him to avoid. The small arrow on the side of the boss’s hitbox can be used for reference, as that is the cut-off point of the attack.
- Telekinesis – The boss will tether three crystals behind the arena, which will then explode and hit the platforms marked by red lines. The quickest way to predict where it will explode is to stand in between two of the platforms and watch the crystal for the direction the red line points in.
- Breathstroke – Find the one platform on the arena with only one tentacle, and hug the opposite side of that platform to avoid the AoEs.
That concludes our FFXIV Aetherfont Dungeon Guide. We hope you find this helpful in understanding the mechanics of this new content, and let us know what you think of the new patch content so far.
Be sure to check out our other guides, such as All Island Sanctuary Updates in Patch 6.4 of Final Fantasy XIV.