Far Cry 6 has finally arrived bringing another enormous map for players to thoroughly explore, blow stuff up in, or quietly lurk in the shadows to take down enemies along the way. Regardless of how you want to approach the game’s combat, chances are you’re going to want to use vehicles to at least get around the massive world of Yara. In this guide, we’ll run you through how to repair vehicles in Far Cry 6, for those moments when your ride is looking a little worse for wear.
Repairing Vehicles in Far Cry 6
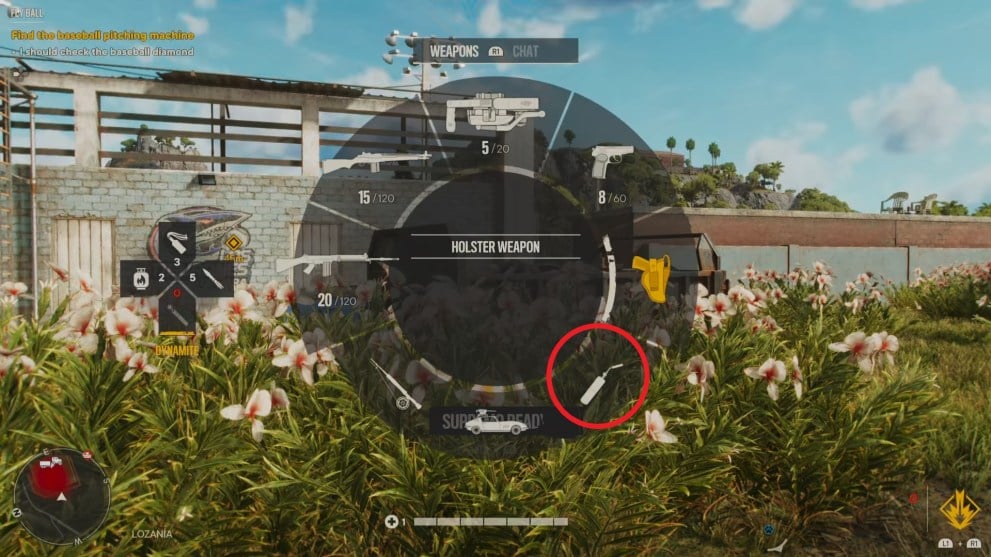
To repair vehicles, simply select the Repair Tool from your Weapon Wheel by pressing and holding L1/LB and then selecting it from the bottom right corner.

You’ll unlock the Repair Tool not too far into the game as part of the tutorial island, so don’t worry if you haven’t got it just yet. It’ll come eventually.
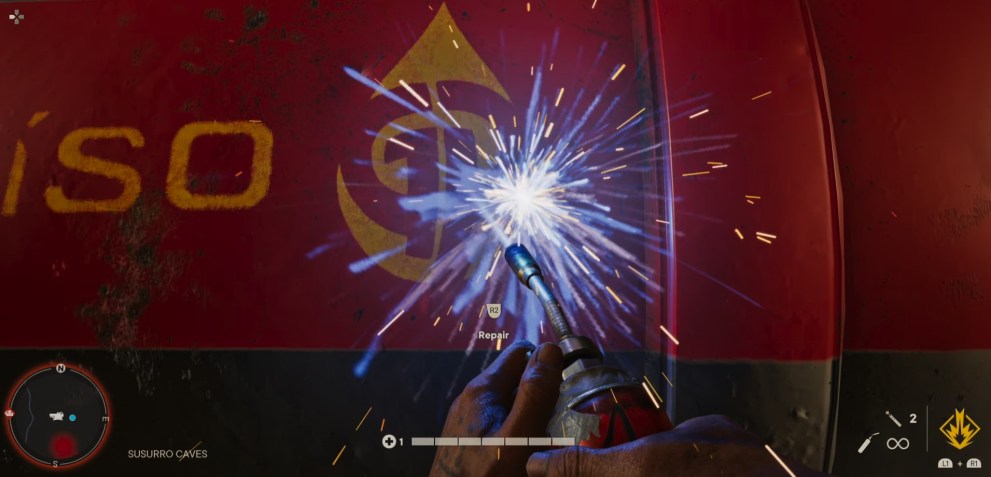
With your Repair Tool equipped, walk up to the side of a vehicle and press and hold R2/RT. This should cause your Repair Tool blowtorch to come to life, and a health gauge for the vehicle will appear and begin filling up.

Once this has completely filled, you’ll have fully repaired the vehicle and will be all good to go.
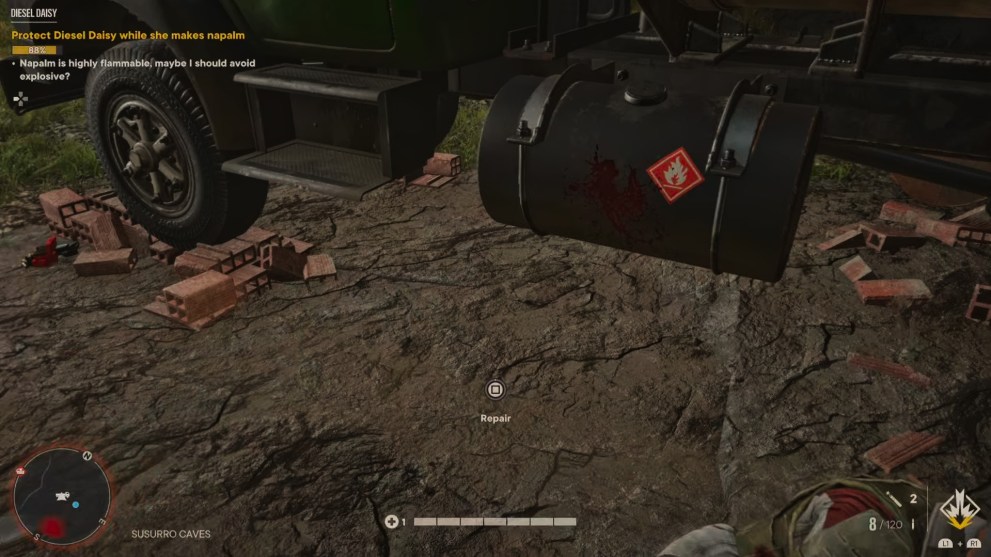
Alternatively, once you’ve got the Repair Tool, you can walk over to the side of a damaged vehicle and you should be given the ‘Repair’ prompt assigned to Square on PS5 and B on Xbox. Press this and you’ll automatically equip your Repair Tool.

It’s worth noting that you can’t repair vehicles that are completely totaled. In other words, if the metal is all black and charred because you’ve just RPG’d it to kingdom come, then you can kiss it goodbye for good.
What Vehicles Can Be Repaired?
Every vehicle type can be repaired with the Repair Tool in Far Cry 6. Just keep in mind that any completely destroyed vehicles cannot be repaired. Any that have been slightly damaged, though, can be.
That’s everything you need to know on how to repair vehicles in Far Cry 6. For more tips, tricks and guides, head over to our wiki, or see more of our coverage on the game below.
