Dreams is a brilliant experience for both creators and players, with it being possible to design or play almost anything you can imagine. There are some customization and personalization options in the game that don’t have to do with actual levels though. So that you can pick the perfect floating character, here’s everything you need to know about how to change Imp in Dreams.
Imps essentially act as your cursor in Media Molecule’s game, with you using the DualShock 4’s motion controls to move it around the screen and select options.
You start with a pretty generic blue one, but you’ll unlock more options as you play and complete Imp Quests, allowing you to change how they look.
How to Change Imp in Dreams
The first thing you’re going to have to do complete the homespace creation tutorial, which allows you to unlock your profile in the main menu. The tutorial, which is short, just runs you through the creation basics, covering things like how to duplicate and move objects.
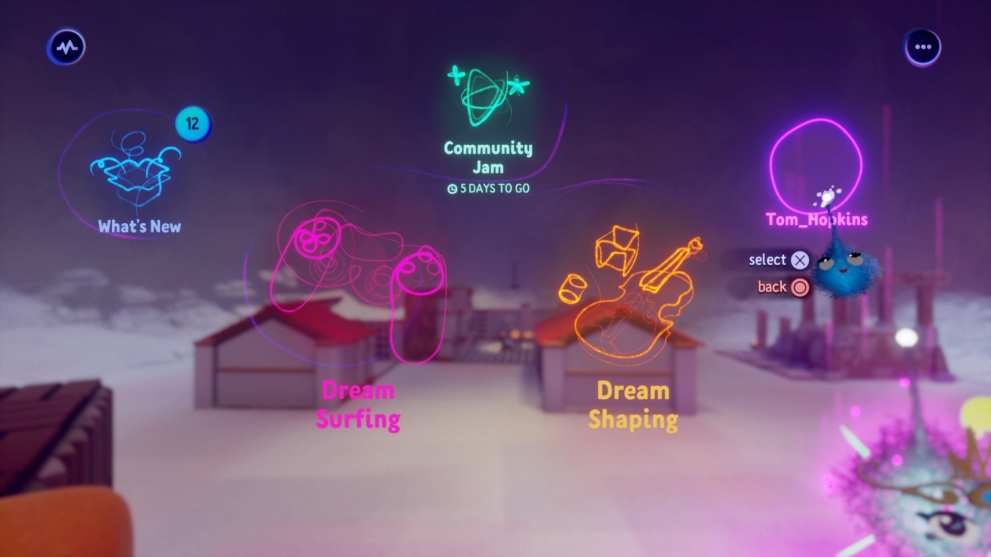
Once that’s done, you’ll need to head to the main menu by pressing Options, where you’ll see your profile on the right and the game’s two modes in the middle.

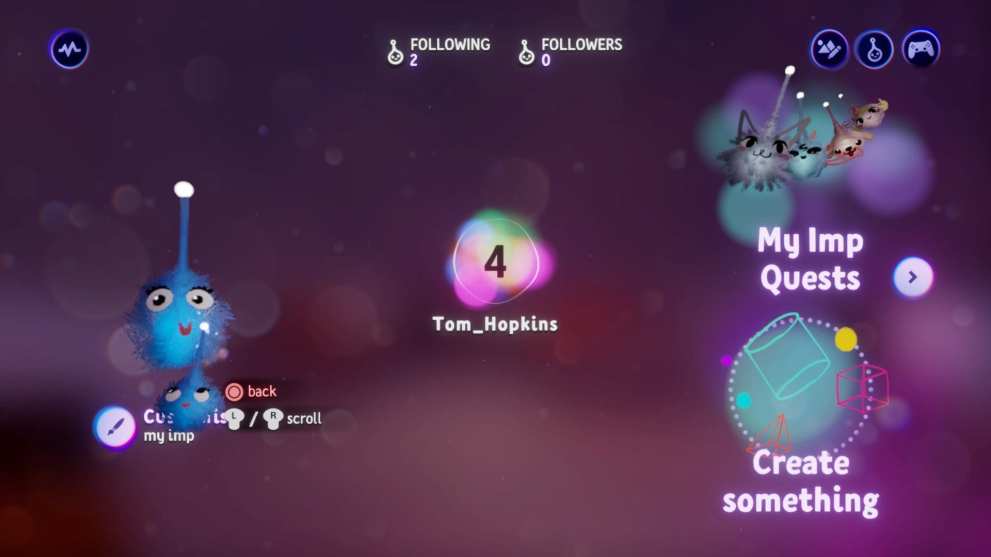
Select your profile and then select Customize My Imp on the left side of the screen.

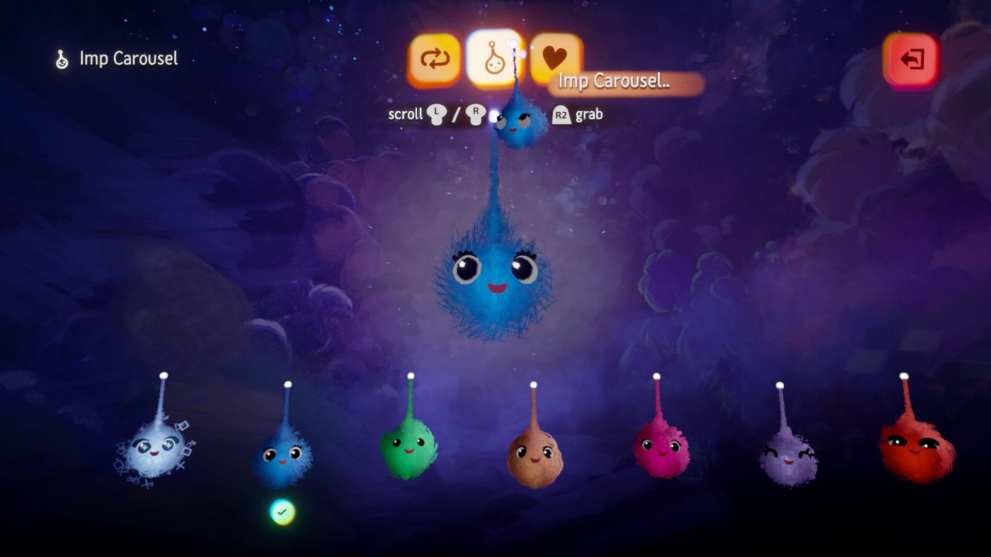
The imp icon in the middle of the three at the top brings up all the imp options at the bottom, and you can scroll through them.

The recycle symbol on the left of the three at the top brings up a random selection of customized Imps. Select the one you want with X and you can select the + icon on the right of the screen to save it to Your Imps if you want to go back to it later.
Time needed: 2 minutes
In short, to change Imp in Dreams
- Head to the main menu and select your profile.
- Select Customize My Imp.
- Have a look through the options and press X on the one you want.
That’s everything you need to know about how to change Imp in Dreams. For more tips and tricks on the game, be sure to search for Twinfinite. You should also check out our feature on the best levels we’ve played so far.
