
The hit action-adventure title Death’s Door, which was recently released for the Xbox One, really makes you work for the full 1000 Gamerscore. In order to get this completion, you’ll need to 100% the game, including collecting every collectible and maxing out your character upgrades, complete numerous missable and miscellaneous tasks throughout your adventure, and maybe worst of all, complete the game using just an umbrella as your weapon. This guide, however, will focus on the collectibles, particularly all 16 shrine locations needed to get the “Zen” achievement in Death’s Door.
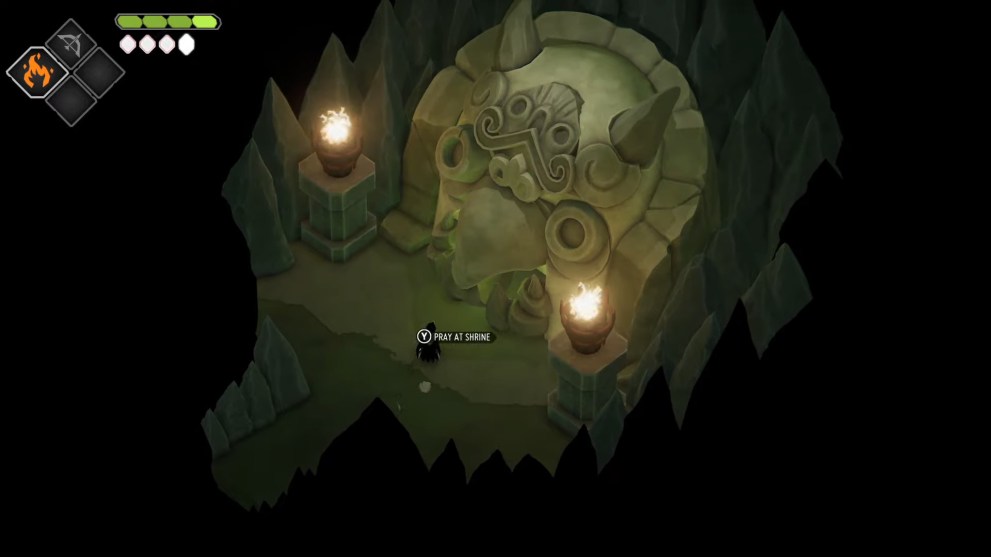
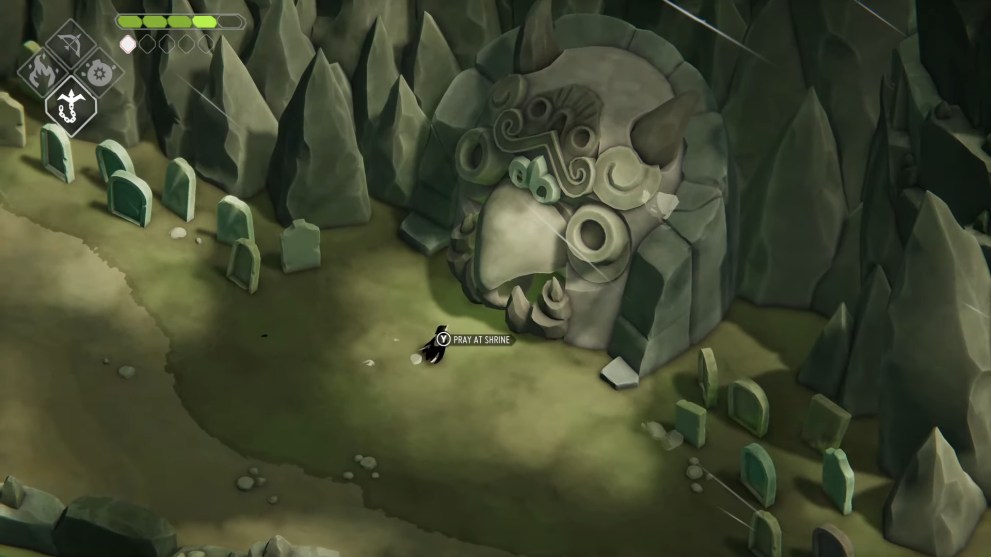
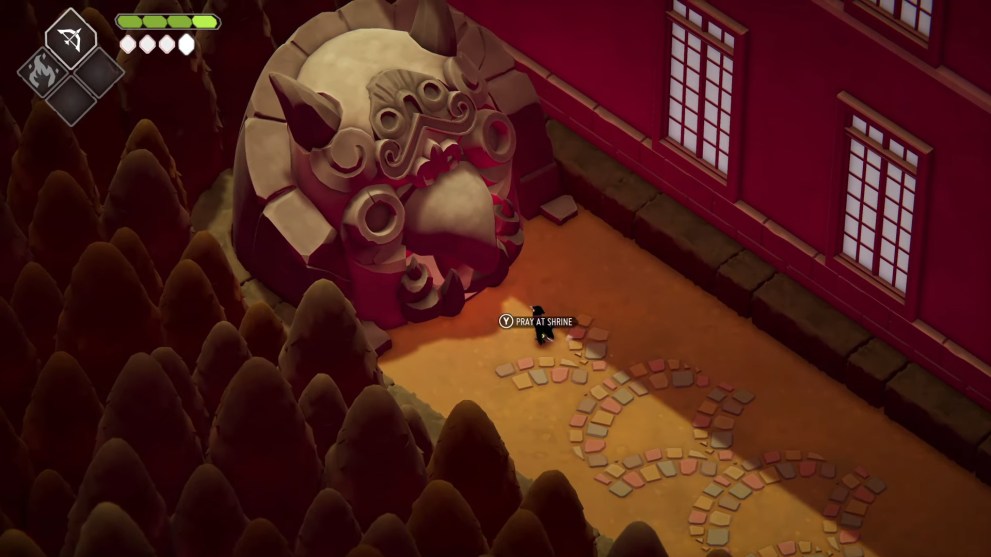
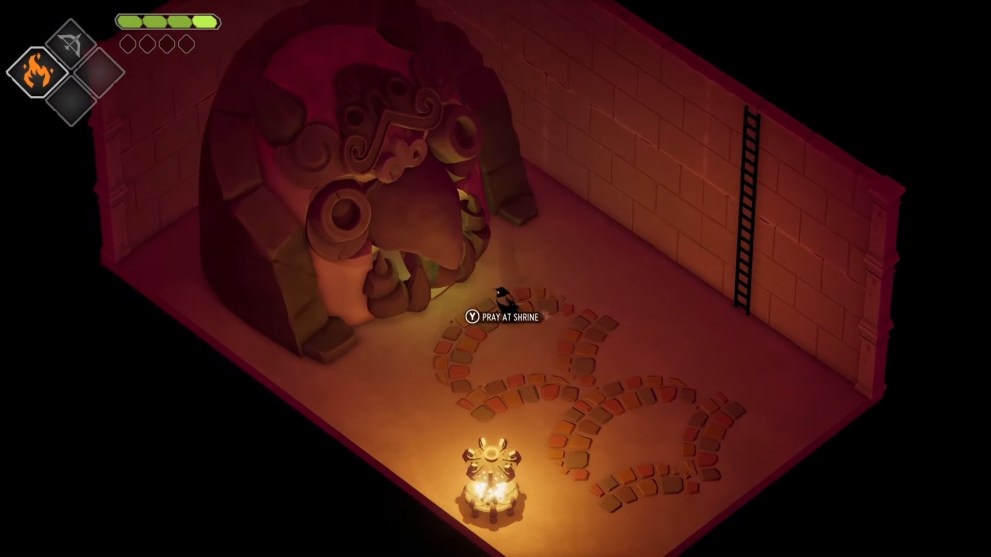
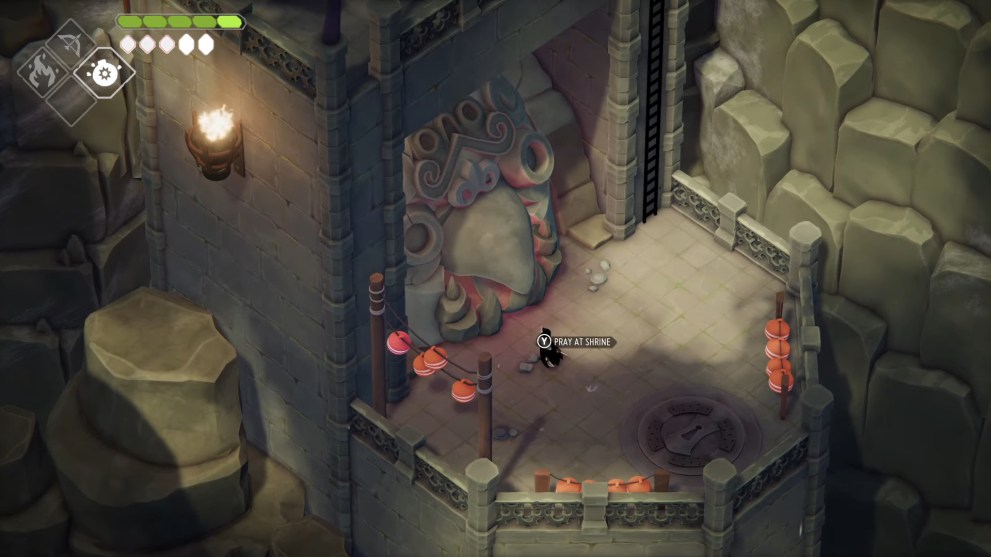
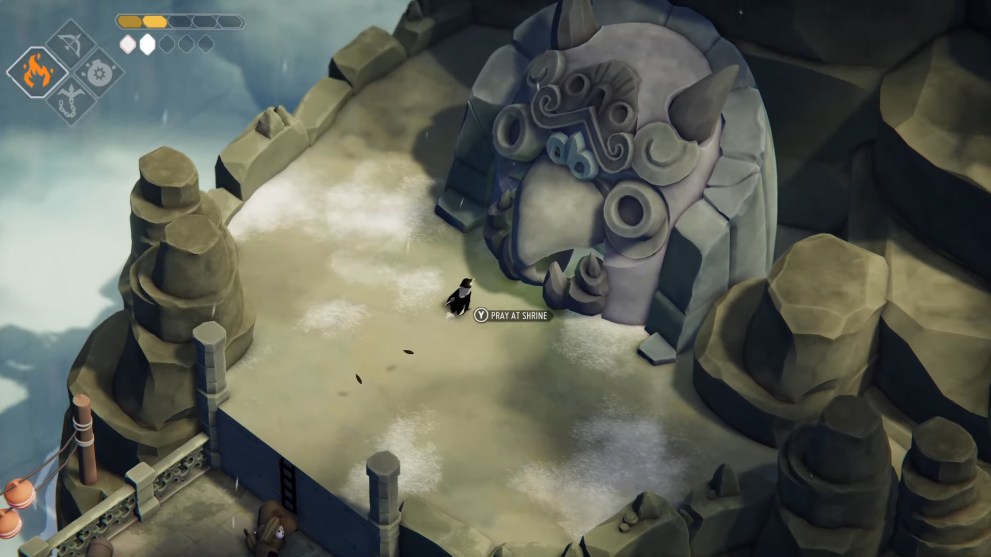
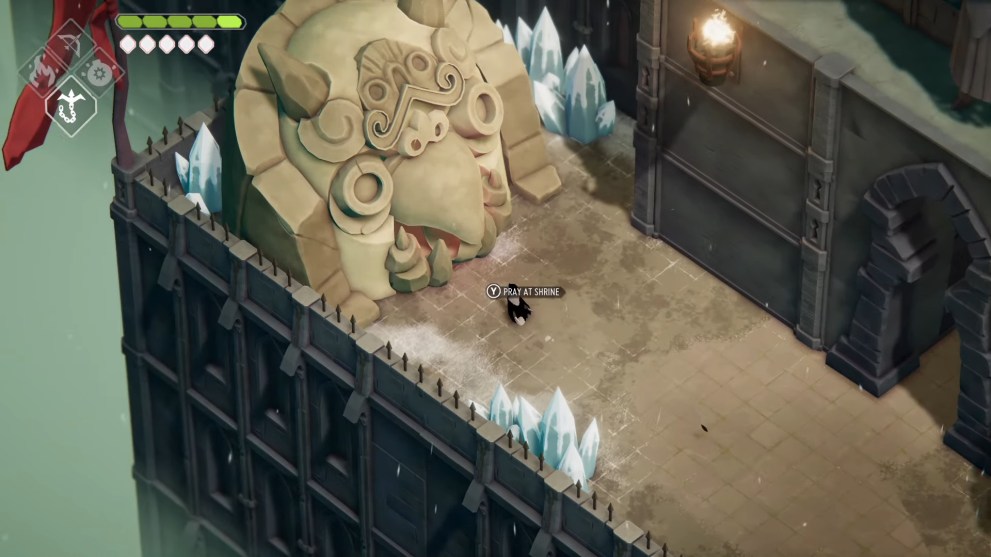
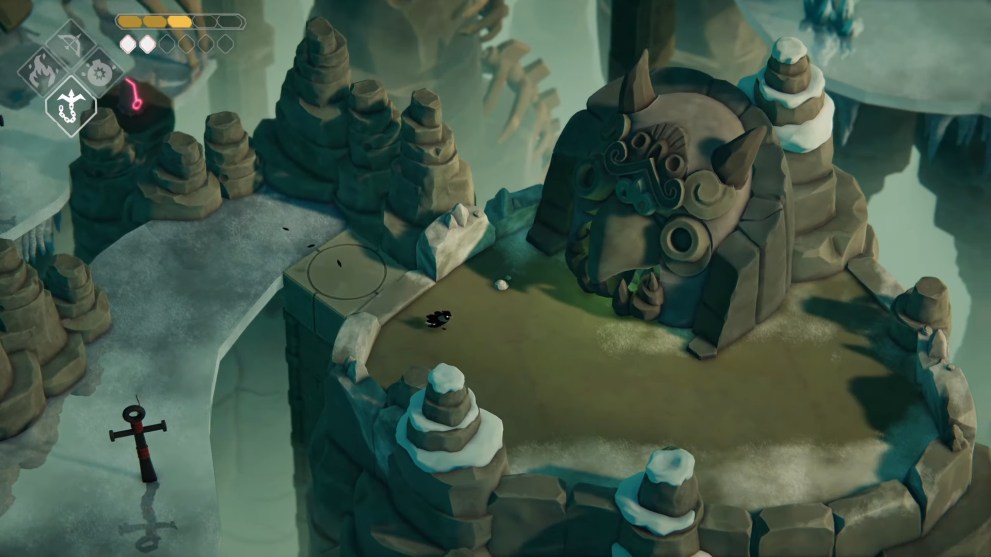
There are two kinds of shrines in this game: Vitality Shrines and Magic Shrines. Upon finding one, you will be rewarded with a crystal – either a Vitality Crystal or a Magic Crystal, depending on the shrine – which can be cashed in to upgrade your health and magic. There are eight of each kind of crystal to find, with two being required for each upgrade. These shrine locations are scattered throughout the game. Some will require you to backtrack when you get certain upgrades, while others you can pick up along the path through the story.
Death’s Door Shrine Locations
This guide will cover the locations of the shrines in each location individually. Under each header will be a warning if upgrades are needed for particular shrines, so you know to avoid them until later in your journey. Each of these shrine location walkthroughs will assume you are starting from the entrance to the level, via the Hall of Doors.
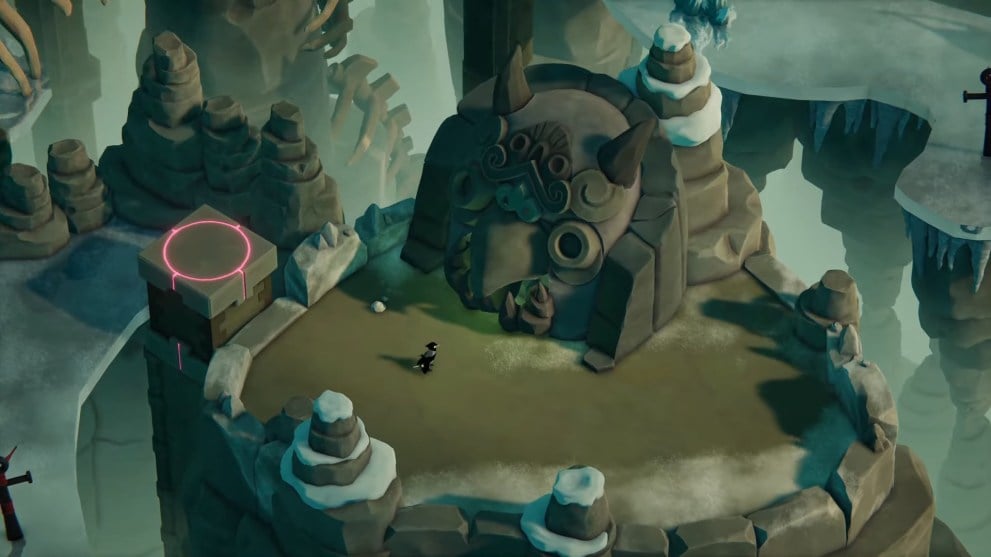
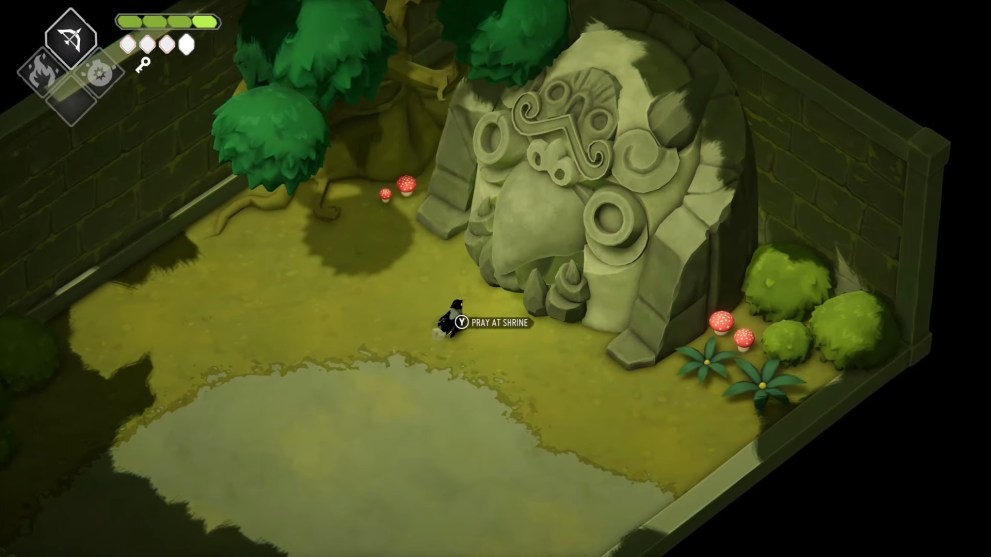
Lost Cemetery
The Bomb spell is required for the second shrine.
Head down and to the left, out in front of the building, and climb the two ladders. Head across the bridge that goes down and left, then ride the elevator down at the far end. Walk around to the back of this small building and climb down the two ladders. Head into the cave to your immediate right at the bottom to find the first vitality crystal shrine.
Exit this cave then go back up the ladders and the elevator. Cross the bridge, then go up and to the left across the other bridge. Head up both sets of stairs, then take a left and continue until the ladder. Climb up and follow the path around, until you pass a ladder that goes down. Dropdown it, then continue down the stairs and ladders until you reach a cave entrance, which you’ll need the Bomb spell to enter. Defeat the enemy in here, then go up the ladder and through the door at the bottom left. Follow the path up two ladders to find the first magic crystal shrine.
Death’s Door Shrine Locations
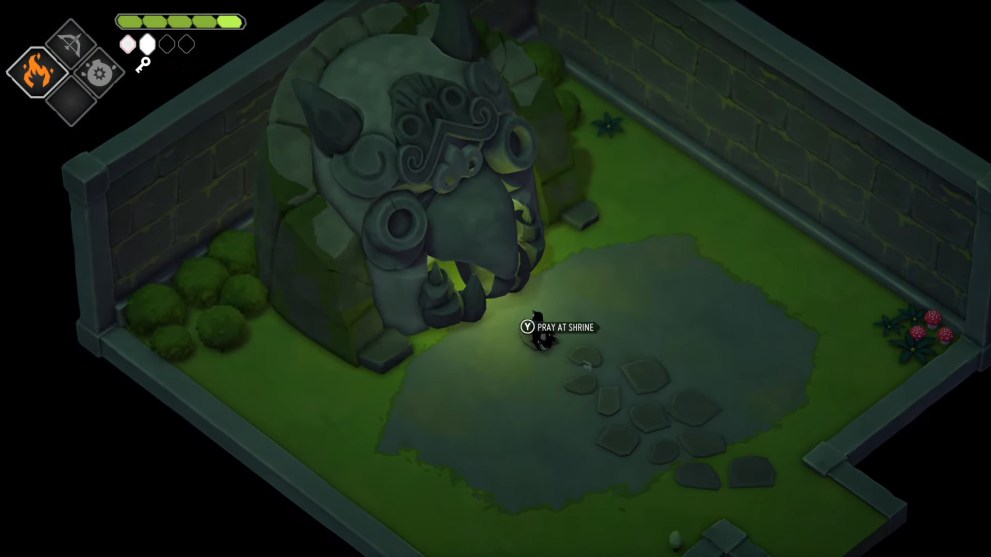
The Grove of Spirits
The Hookshot is required.
Immediately head down and right through the break in the wall, then go up into the large open area. Enter the portal and head left. You should see a platform in the back that you can grapple to, so do so and then grapple to the succeeding platforms. Drop down when you see the tombstones, then you’ll find the vitality crystal shrine past the first group of graves.
Ceramic Manor
The Flame spell is required for the second and third shrines.
Head through the door directly beneath where you enter, then head through that hallway. Once outside, head up and to the left and pay close attention to the hedges beside you. You should see a distinctly misshapen hedge, which you can actually walkthrough. Pass through it and emerge out the other side. Walkthrough the next set of hedges to find the magic crystal shrine hidden behind the building.
Backtrack back to the main path by the entrance to this area. Follow the path down the stairs, onto a circular stone pad. Head down and right, under the arches, then go down and use the bridge to cross the river. Follow the path up the stairs, onto a large concrete square.
Drop through the break in the fence up here and head forward under the arch. Across the bridge, you’ll find yourself in a small square area. Use your Flame spell to light the brazier at the bottom, then head under the arch to the bottom left. Light the brazier here, then go to the bottom right and light the third one. Head up and left to light the final brazier, triggering a cutscene where a bridge rises up. Cross this bridge and drop down the trapdoor to find the vitality crystal shrine.
Now backtrack all the way back to the Ceramic Manor entrance, back inside the mansion. Once you reach that door, head up the stairs that go up and to the right, then head through the left door. Immediately go through the door to your left that goes down, then light the four braziers to lower a ladder.
Climb up, head through the door, and go left down the hall, taking the first door on your left. At the left end of the bathtub, there will be an invisible vase. Slash around until you destroy it, then climb up the shelf and destroy the second once. You can now walk through the fake wall to the immediate left of the first vase you broke to find a magic crystal shrine location.
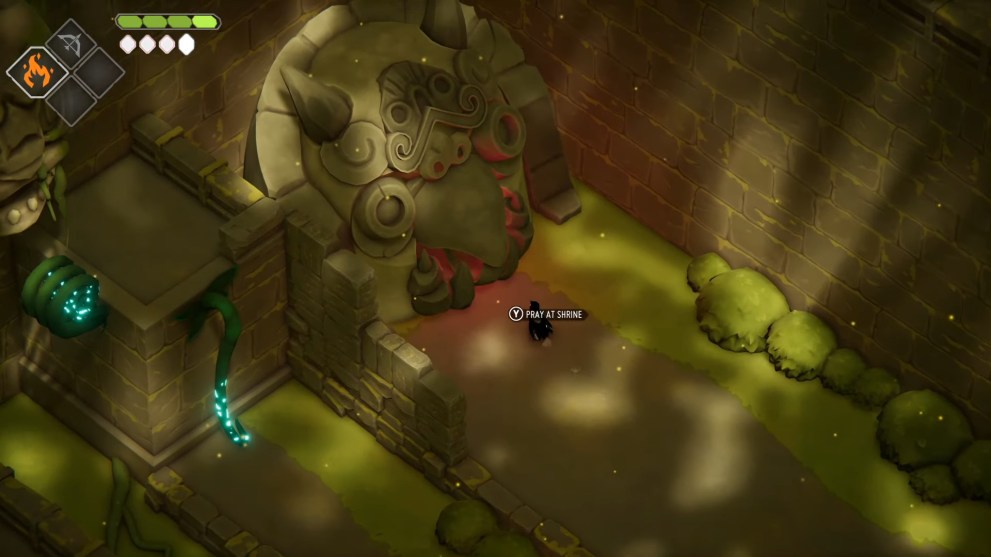
Death’s Door Shrine Locations
Inner Furnace
Head down and to the right, continuing in this exact direction through a few rooms, until you reach a moving platform. Smack the arrow on the platform to move you across the gap, then take another moving platform up and to the right (you’ll need to shoot it with arrows to bring it to you). Head up the ladder, then across the pipes that go down and left. This will take you directly to the vitality crystal shrine.
Overgrown Ruins
The Hookshot is required for the third shrine.
Head through the opening in the stone wall directly behind the entrance door. Take the ladder to the left of the cave entrance in front of you, then go around the left side of the small stone enclosure ahead. Just past the crates and the small tree, take the ladder up to find the Forest People settlement. Head to the back right of the settlement and go through the gate, then up the ladder.
Follow the path up and right, then turn into the large circular stone area. Exit through the bottom of the circle, then head down and to the right to find a vine. Use it to climb up, then follow the path clockwise until you find another ladder. Climb it, then go up the vine immediately in front of you. Head to the back left of this upper platform (where the orange flower is) and you should see a break in the wall. Roll through this opening, then attack to do a ground pound to enter an underground tunnel. Follow this tunnel down and to the right until you reach the exit, then enter the door to find the vitality crystal shrine.
Backtrack to the settlement of the Forest People. Head left and walk around to the far side of the settlement, then drop off the ledge ahead of you (to the right of the tree) to a lower area. When the camera adjusts, walk up and to the left to find another magic crystal shrine.
Backtrack to the entrance of the Overgrown Ruins. Head up and left, then down and left and follow the path. When you reach a small red patch of mushrooms, turn up and to the left and walk under the wooden platform and grapple past the waterfall. Grapple twice more, then shoot the red switch in the far wall with an arrow to spawn some more walking space. Grapple up and to the left to the grass area and fight a wave of enemies. Take the vines upward and head left to find a magic crystal shrine.
Death’s Door Shrine Locations
Mushroom Dungeon
The Bomb spell is required for both shrines, and the Flame spell is required for the first.
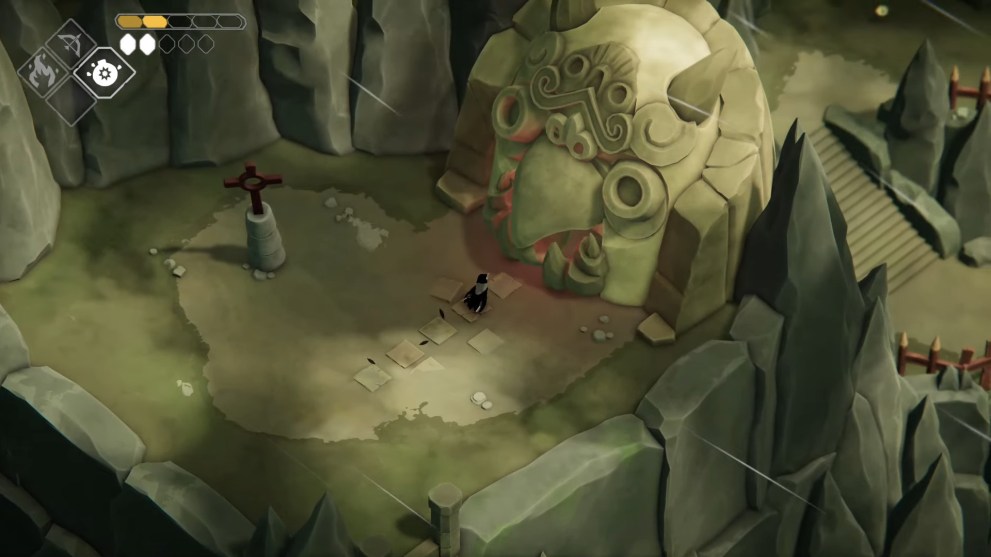
Head up the small staircase, then continue in that direction through the small door. Go down the ladder, break through the crates, then head outside. Go through the door that is at the top of the staircase in front of you, then drop down and use the vine to fling yourself up to the top level. Walk up the right staircase, through the door, then to the very top of this room to find a wall you can destroy with a bomb. Do so, then light the three braziers in this room to open the gate, revealing the door to the vitality crystal shrine location.
Head back to the Mushroom Dungeon entrance room, and go through the small door in the back right corner. Follow the tunnel and drop down the ladder, then head down and into the next area. Follow the wall to the right, past the door, up the staircase and into the next room. Drop down the platforms to the right, then cross the bridge at the bottom right, breaking through the wall with a bomb, and go through the door to enter the Flooded Fortress. Go straight until you see a wooden bridge heading down and left. Follow this bridge and continue to follow the wooden platforms until you reach some metal archways. Go up and to the left here, then shoot an arrow through the stone arch ahead of you, at a switch, spawning a walkway. Walk across to find a magic crystal shrine.

The Stranded Sailor
The Bomb spell is required for the first shrine, and the Hookshot is required for the second.
Head across the wooden bridge directly above you, then go up the stairs to the right and use the Bomb spell to knock down the wall to your left. Head through and follow the staircases up until you see some blue crystals. Head right up here and go up the stone stairs, then slash your way through the crystals. Drop down, pull the lever, then stand above the missing ladder and do a rolling ground pound off the edge to enter a secret tunnel. Follow it until you emerge and you’ll be right at the magic crystal shrine.
Backtrack to the entrance of The Stranded Sailor. Head across the wooden bridge above you, then across the bridge to your left. Grapple across the first gap, then grapple up and to the left to the square stone platform. Fight some enemies, then grapple across to the far wooden walkway and go up the ladders, past the guy with the cannon. At the top of the second ladder, you’ll find the vitality crystal shrine.
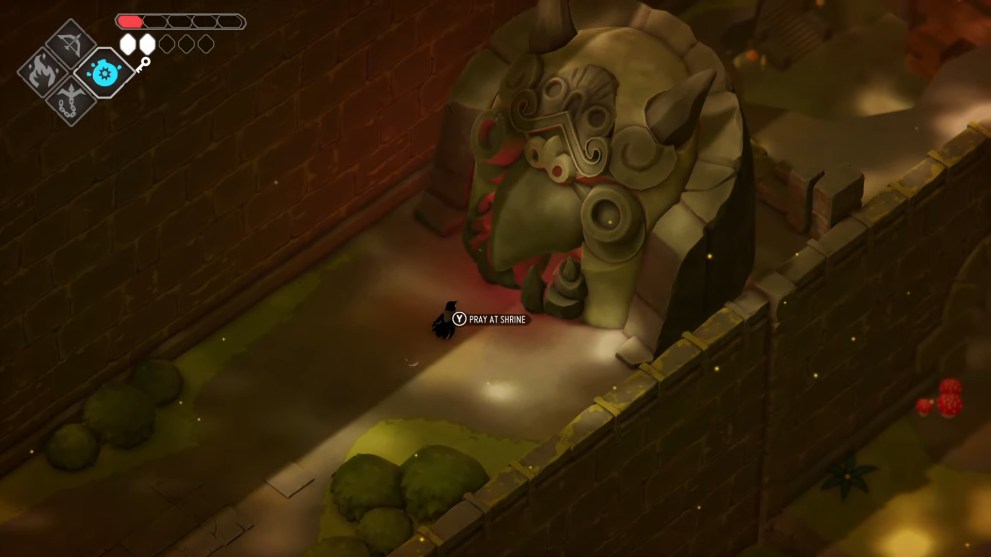
Death’s Door Shrine Locations
Castle Lockstone
The Hookshot is required for this shrine.
Go through the doorway right beside where you spawn, then exit through the back left corner of the room. Head left and destroy the crystals to unveil the ladder. Climb up and head left, through the doorway. Exit through the bottom right of this room, then grapple to the first platform. Instead of grappling to the second, face the wall and grapple that way, through a secret hole in the wall. Pull the secret lever to your left, then grapple back out and across the platforms to the gate you just unlocked. Head outside and to your left, you’ll find the final magic crystal shrine.
Camp of the Free Crows
The Hookshot is required for this shrine.
Follow the path up and to the left. Continue along this cobblestone path until you reach a door to a new area. In the new area, grapple across the platforms, then shoot the switch on your left to lower the platform ahead. Run across quickly and continue along this path, lowering platforms and quickly getting by them, until you reach a platform with two large bone structures coming off of each side. Here, smack the switch and very quickly run along the lower path, grapple across the gap, then head up and across the platform to find the final vitality crystal shrine location.
With your final crystal collected, you should unlock the “Zen” achievement and find yourself 50G richer. If you’ve already beaten the game and are backtracking to find all the crystals, this hopefully shouldn’t have taken you too long. If you’re doing your first playthrough, you should definitely be picking up these crystals along the way, as it should significantly reduce the time it takes to beat this otherwise tricky title. With that achievement out of the way, and your character now fully upgraded, you’re one step closer to Death’s Door perfection.