The mean streets of Night City are often dangerous, but they can equally be beautiful on occasion. So much so, that you may very well find yourself wanting to play tourist and take some pictures. Luckily, as with most games these days, there’s a special mechanic for exactly that. Here’s how to use photo mode in Cyberpunk 2077.
How to Use Photo Mode in Cyberpunk 2077

To use photo mode in Cyberpunk 2077, simply press L3 + R3 (PS4) or the equivalent buttons on your platform. The action (pushing down both sticks) should be the same on Xbox One, while PC players need to press N.

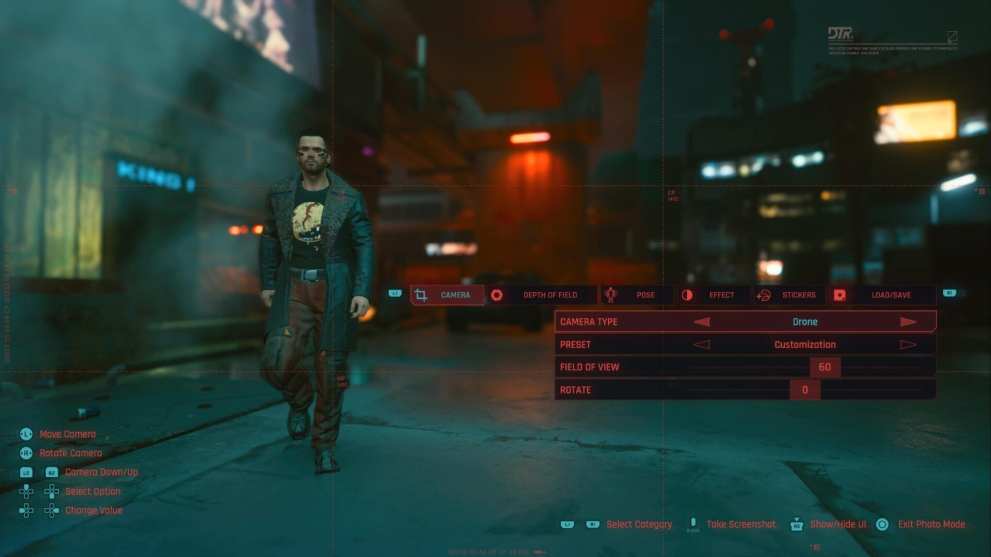
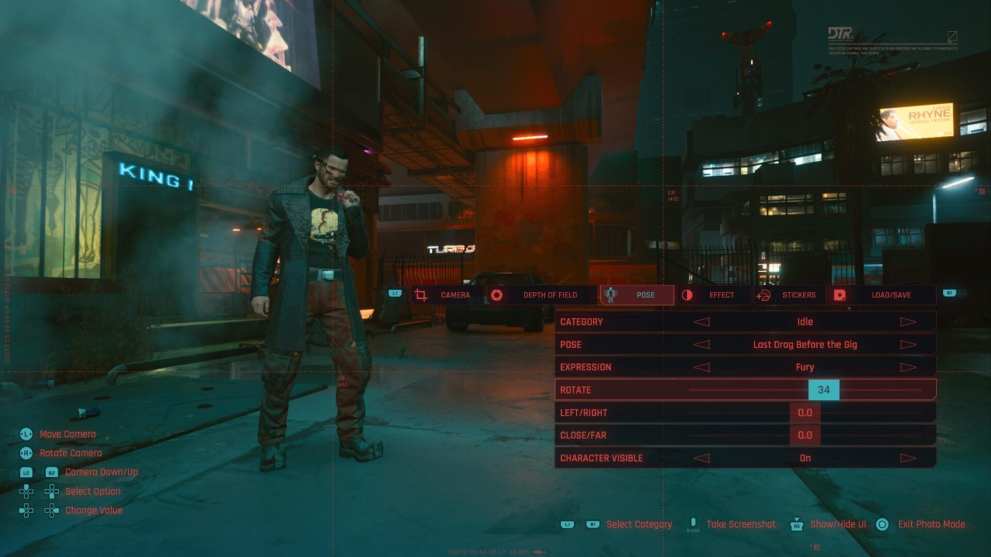
In terms of what options you have available to you, Cyberpunk 2077’s photo mode is about as robust as they come. There are five main segments to customize: camera, depth of field, pose, effect, and stickers.
Each of these offers an impressive range of different options to tweak the image to your liking, and most of them have a short explanation in case you’re unfamiliar with generic terms in photography.
For example, you can use the camera to locate your desired angle and field of view, while the depth of field is for bringing the back and foreground in and out of focus according to preference. The effects tab contains features like exposure, contrast, vignette, and more. Meanwhile, stickers add a graphic to the image if you want to create a sort of poster-like effect.
Once you’re ready to take your picture, hide the menu by pressing R3/equivalent button, and then take your screenshot with either your gamepad’s share button or “Print screen” on your keyboard. If you’re running GeForce Experience on PC then it’s Alt+F1.
Obviously, there’s a great deal more depth to the mode than what we’ve described here, but this should at least give you a general overview of how to use photo mode in Cyberpunk 2077.
For more useful information on the game, be sure to check out Twinfinite’s extensive guide wiki. Otherwise, you should also see some related content below that may prove useful.
