
As a new feature for Season 4, Intel Missions have arrived in Warzone, expanding the story and offering players a chance to earn huge amounts of XP. So that you can get the week two rewards, here’s everything you need to know about how to complete the Hunting the Enemy Intel Missions in Warzone.
Just as the first week’s did, these missions are broken down into seven challenges, with you needing to head to six locations to find intel items. Before we get to where you need to go, there are a few things you need to be aware of.
You need to complete the challenges in order, from one to seven, and you can only get one per match, needing to redeem the XP from the lobby before going after the next. Also, while other players have said that they can complete them in Plunder, the Intel items were only available in standard battle royale modes for me.
How to Complete Hunting the Enemy Intel Missions in Warzone
Below, we’ve listed each of the challenges as they’re described in game, before we break down exactly where you need to go.
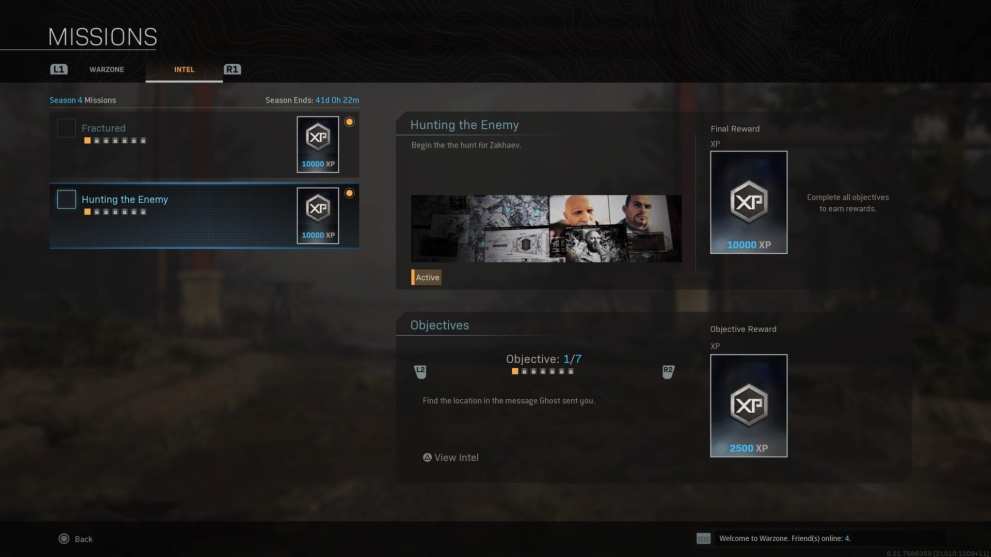
- Find the location in the message Ghost sent you – 2500 XP
- SIGINT was relayed from Airport military wing… – 5000 XP
- Communication interference tracked to Western bunker… – 5000 XP
- An enemy laptop could supply intel… – 5000 XP
- A meeting took place downtown… – 5000 XP
- The enemy wants to catch a train… – 5000 XP
- Collect all six intel items – 10000 XP
Now, we’ll run through the locations of each item for the Hunting the Enemy Intel Missions. Most of them are pretty easy to find and you just need to press square if you’re on PS4 to pick them up (X on Xbox One, click on PC).
Intel No. 1– Inside the swimming pool just south of Storage Town, go though middle door on the bottom floor and up stairs. Then, go out onto the walkway above the pool and grab the gold coin on the old case.
Hunting the Enemy Intel No. 2 – At Verdansk airport, in green box room just east of the broken plane outside, you’ll find the item on the desk inside.
No. 3 – Head to the bunker on western edge of the map, level with boneyard and storage town. Looking at all three doors, go into the one of the right (no. 3) and go down the hatch on right. You’ll find a laptop on the table on left near the end.
No. 4 – This location is the same as number three’s but you need to get a loadout and make sure you’re using the Spotter perk, otherwise it won’t appear.
Hunting the Enemy Intel No. 5 – This is the trickiest to find. Head to the Downtown apartments, which are slightly north of bridge that goes across to Hospital. You’re looking for the central L shaped building among a few of them and the intel will be on a whiteboard inside.
Intel No. 6 – Head into the southern entrance of Train Station and go up the stairs inside on the right towards the departures board. There will be green lettering on wall below the sign and you just need to interact with that.
That’s everything you need to know about how to complete the Hunting the Enemy Intel Missions in Warzone. For more tips and tricks on the game, be sure to check out our wiki guide or search for Twinfinite.