In the Dead Space remake, many of the weapons obtained throughout the game do fine on their own with a power node or two, but when it comes to challenges like playing any difficulty higher than Normal, you definitely want to be as beefed up as possible. Luckily, there’s plenty of additives in the game. Here is everything you need to know about all weapon upgrades and locations in the Dead Space remake.
What Are Weapon Upgrades in Dead Space Remake? Answered
Thankfully, the game includes not only nodes to increase the given stats of a weapon and your RIG suit but actual weapon upgrades that you can purchase from the game’s many Store locations to inject new, unique stats.
The upgrades can be found either scattered across the ship or buyable at one of the many in-game Store hubs. Once obtained, you take them to the nearest Bench to implant the upgrades into the respective weapon.
Finding all of the weapon upgrades in the game is necessary for both the Built to Order and Maxed Out achievements/trophies. For Built to Order you must find each upgrade and install it on a Bench. For Maxed Out you must buy all upgrades for all weapons and the suit using Nodes.
Note that while every single weapon upgrade can be found in one playthrough, it will take at least two playthroughs to obtain enough nodes to buy and install every single upgrade. Getting all of them starts from Chapter 2: Intensive Care
Chapter 2: Intensive Care
Weapon Upgrade 1 – Cartridge Rack (Plasma Cutter)
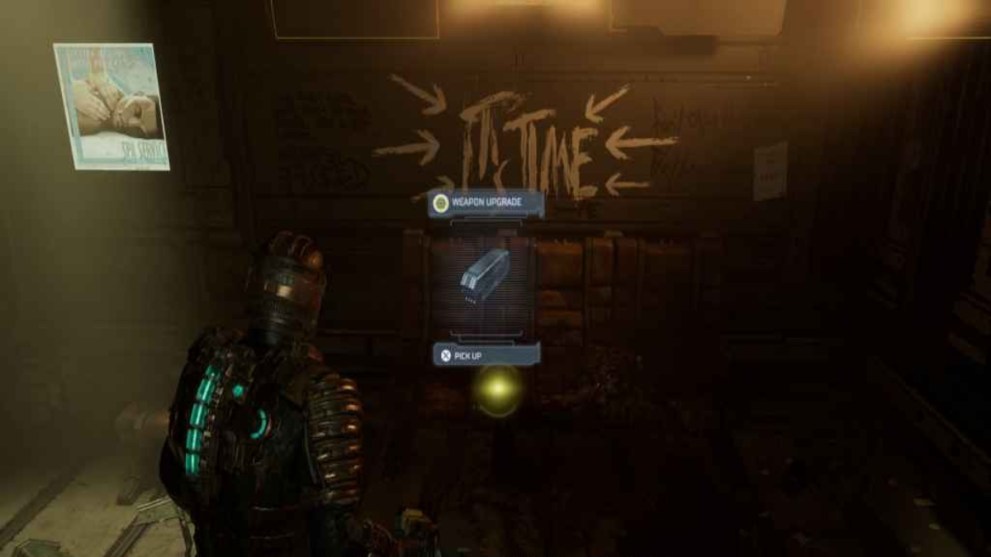
This first upgrade for the game’s classic weapon the Plasma Cutter can be found in the Medical Wing. After blowing up the barricade, enter the Ishimura Clinic. The upgrade will be lying on a bench in front of a wall covered in graffiti.
Chapter 3: Course Correction
All upgrades in this chapter are bought from the in-game Store. Otherwise, just be sure to find all of the weapons during this chapter in order for these upgrades to appear in the Store.
- Weapon Upgrade 2 – Heat Accumulator (Plasma Cutter) – Purchase this upgrade from the Store for 11,000 Credits.
- Weapon Upgrade 3 – Kinetic Autoloader (Pulse Rifle) – Purchase this upgrade from the Store for 11,000 Credits (available after finding the Pulse Rifle).
- Weapon Upgrade 4 – Ricochet Tracer (Ripper) – Purchase this upgrade from the Store for 11,000 Credits (available after finding the Ripper).
- Weapon Upgrade 5 – Gellified Hydrazine (Flamethrower) – Purchase this upgrade from the Store for 11,500 Credits (available after finding the Flamethrower).
Chapter 4: Obliteration Imminent
Weapon Upgrade 6 – P.C.S.I Custom Magazine (Pulse Rifle)
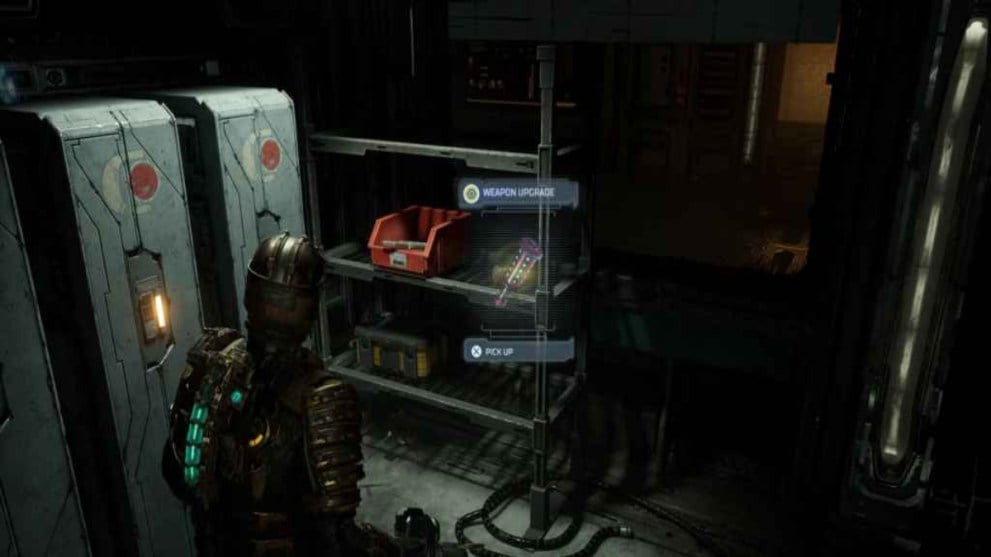
This upgrade for the Pulse Rifle can be found within Electrical Systems Storage, sitting on a shelf. The room is initially inaccessible. To unlock it walk up to the broken window and use Kinesis to move boxes that are in the way. Then shoot the fuse to finally unlock the door.
Weapon Upgrade 7 – Supersymmetry Tether (Contact Beam)
Purchase this upgrade from the Store for 12,000 Credits (available after finding the Contact Beam).
Chapter 5: Lethal Devotion
Weapon Upgrade 8 – Ionized Capacitor (Line Gun)
Purchase this upgrade from the Store for 11,500 Credits (available after finding the Line Gun).
Chapter 6: Environmental Hazard
Weapon Upgrade 9 – Angled Launcher (Ripper)
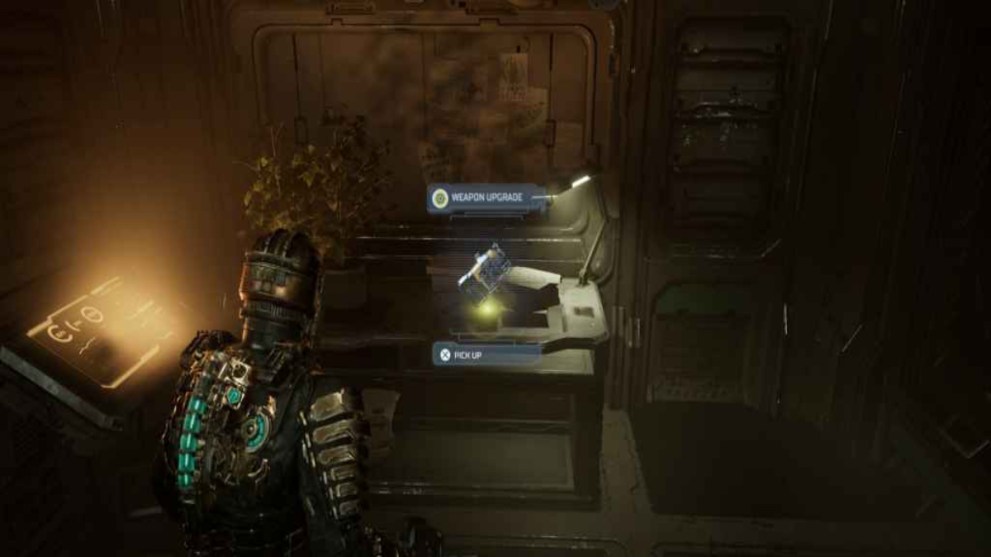
This upgrade for the Ripper can be found inside B. Andonov’s Office, which is the first office on the left inside the Flow Control area.
Weapon Upgrade 10 – Subsonic Oscillator (Force Gun)
Purchase this upgrade from the Store for 12,000 Credits (available after finding the Force Gun).
Chapter 7: Into the Void
Weapon Upgrade 11 – Macroliter Fuel Tank (Flamethrower)
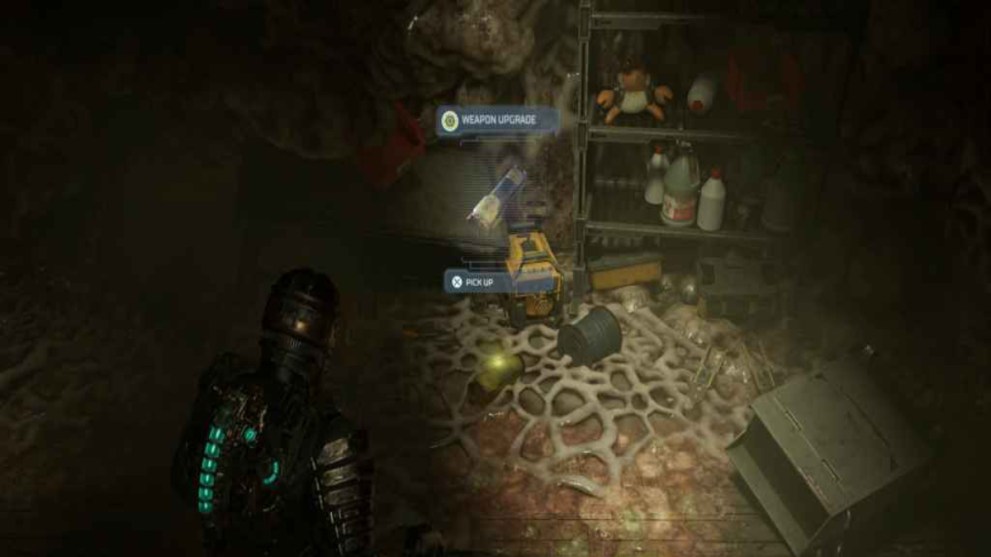
To obtain this upgrade for the Flamethrower, change the circuit breaker to zero gravity in the Equipment Maintenance Bay, then float down to the floor below. Enter the Utility Room to find the upgrade on the floor. Note that entering the Utility Room requires a Level 3 Security Clearance.
Chapter 8: Search and Rescue
Weapon Upgrade 12 – Weighted Blades (Plasma Cutter)
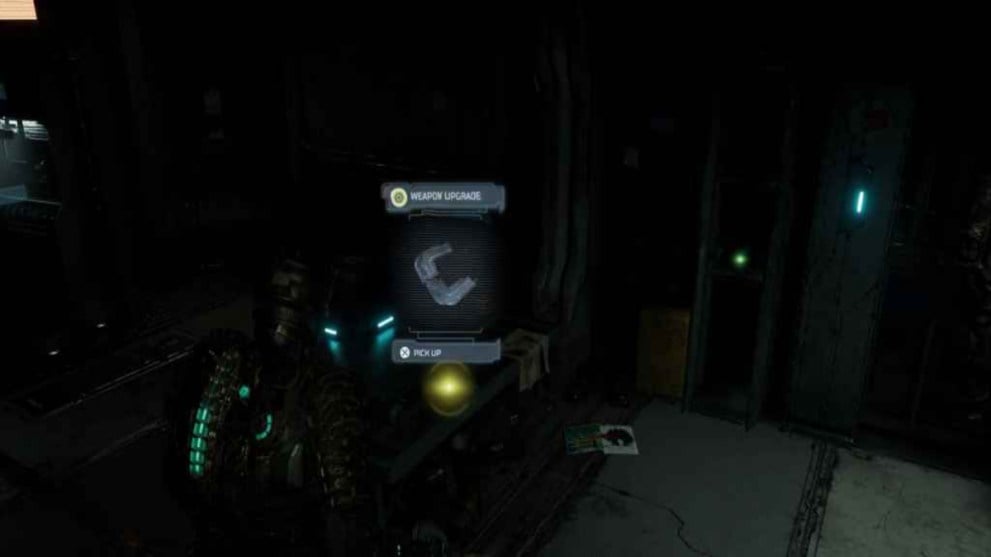
This upgrade for the Plasma Cutter is sitting on a bench inside the Maintenance Locker Room in the Communications Hub.
Chapter 10: End of Days
This chapter yields the most upgrades in the game, so be sure to keep track of them all.
Also, many of the upgrades in this chapter are locked behind doors and inside crates that require the Master Override clearance key. If you’ve yet to do so, you need to double back and complete the You Are Not Authorized side mission to obtain the Master Override.
Weapon Upgrade 13 – High Yield Grenades (Pulse Rifle)
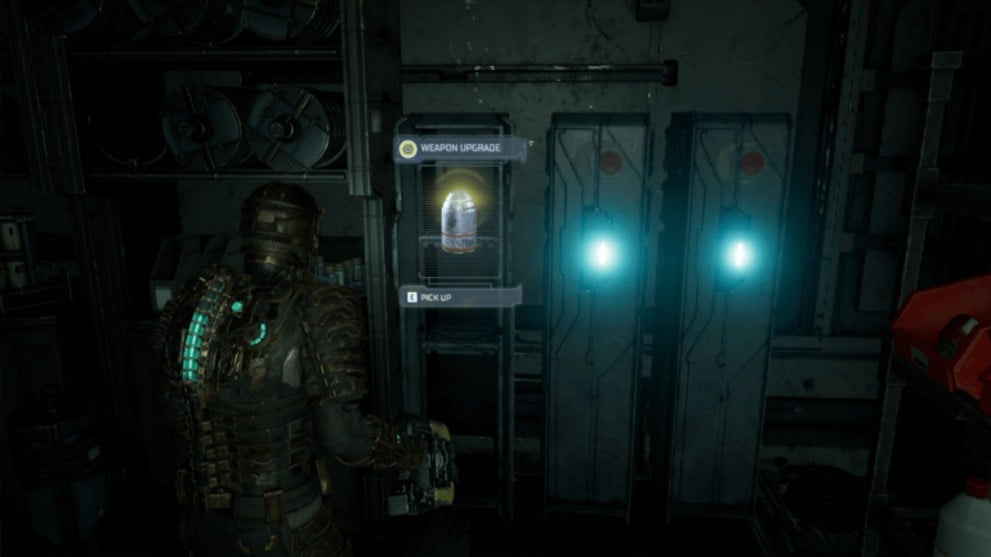
To obtain this upgrade for the Pulse Rifle, head to the Atrium and take the elevator to Water Purification. The first Master Override door will be here. The upgrade will be in the first locker on the left.
Weapon Upgrade 14 – Precision Lasers (Line Gun)
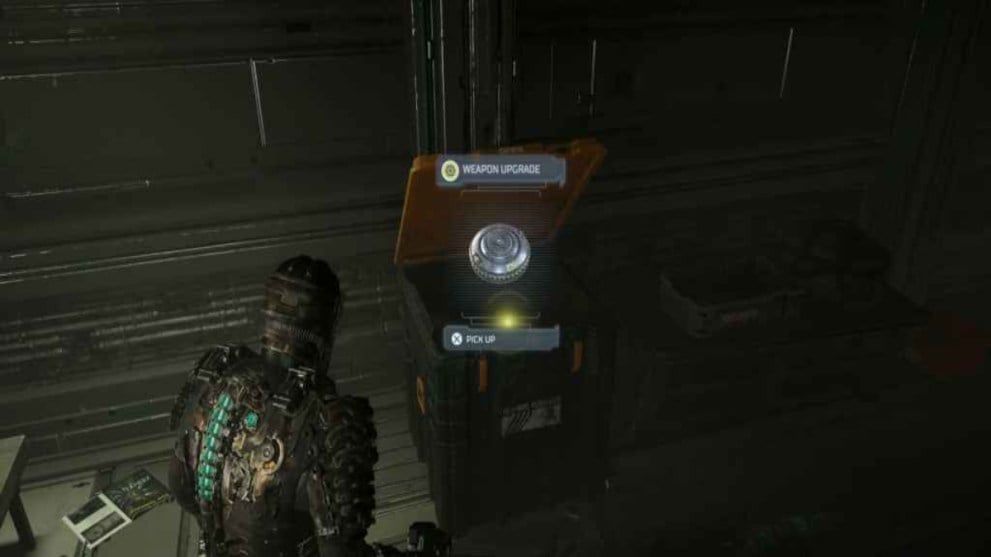
To obtain this upgrade for the Line Gun, head to Hydroponics and open the Master Override chest in the hallway between Hydroponics Central Hub and the Mining Tram Station.
Weapon Upgrade 15 – Diffraction Module (Contact Beam)
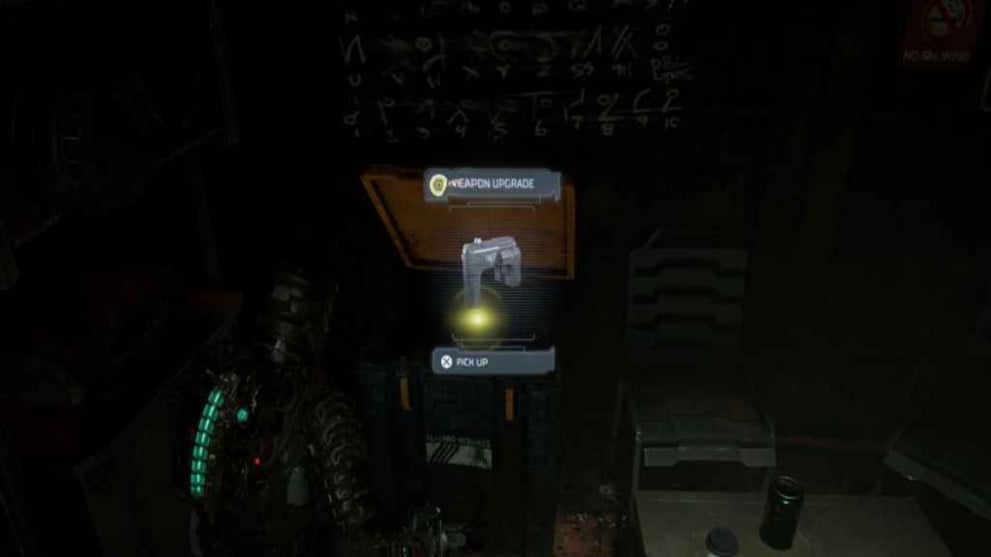
To obtain this upgrade for the Contact Beam, head to the Mining Deck and in the first room use Kinesis to move the tall sliding crates to create a path to Tools Storage, which is the next Master Override door. Inside will be a Master Override chest that contains the upgrade.
Weapon Upgrade 16 – Carbon-Fiber Blades (Ripper)
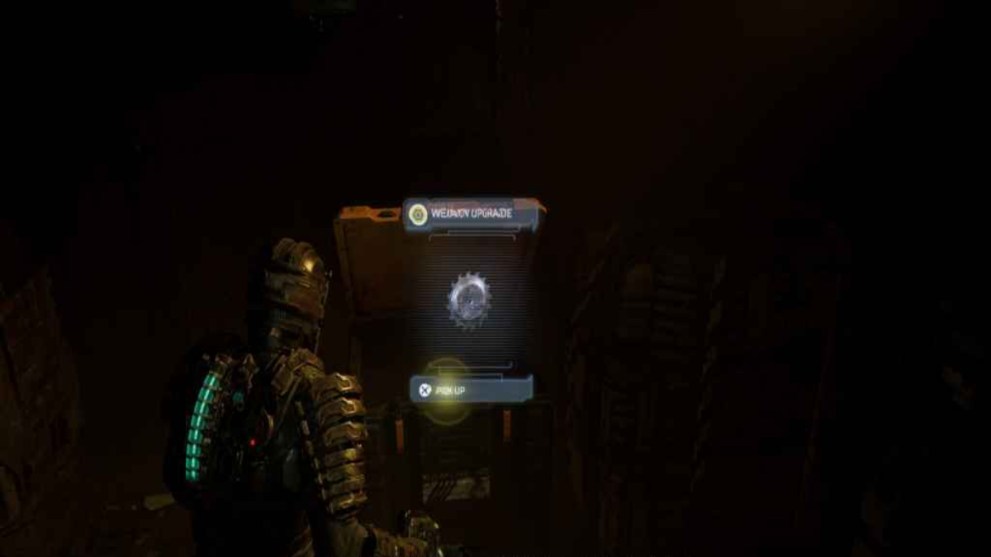
To obtain this next upgrade for the Ripper, head through the Tram Station to Engineering. Once there, head through the Preparation Room down to the Machine Shop. In the back is a Master Override chest that contains the upgrade.
Weapon Upgrade 17 – Portable Heliotron (Contact Beam)
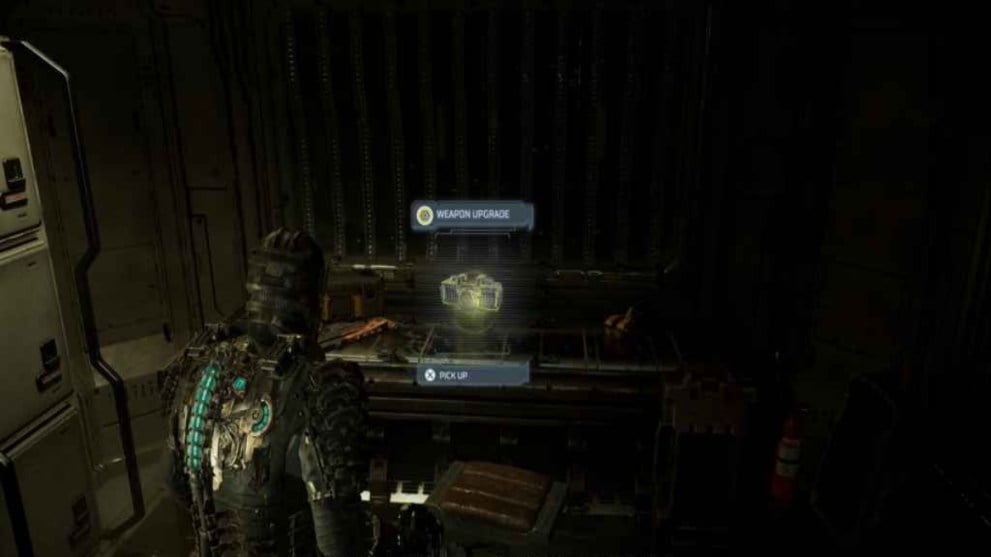
To obtain this next upgrade for the Contact Beam, head back again to the Medical Wing and go down to the Main Lab. Head down the back hallway and open the Bioprosthetics Locker Room, which requires Level 3 Security Clearance. The upgrade will be sitting on the workbench.
Weapon Upgrade 18 – Photon Energizer (Line Gun)
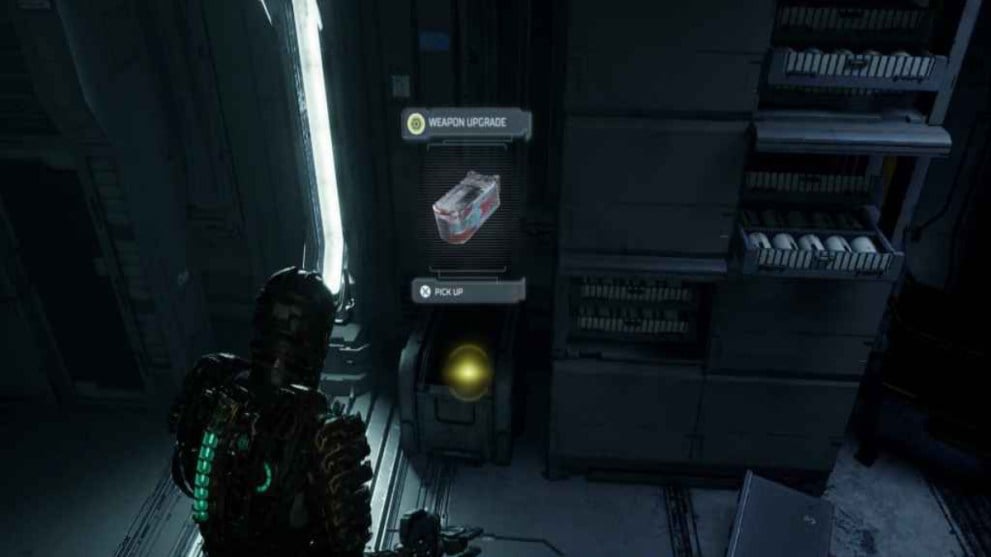
To obtain this next upgrade for the Line Gun, head for the hallway between the Chemical Lab and Cryogenics in the Medical Wing. Here you’ll find Lab Storage, which has a Level 3 Security Clearance. The upgrade is inside a crate in the room.
Weapon Upgrade 19 – Granitic Amplifier (Force Gun)
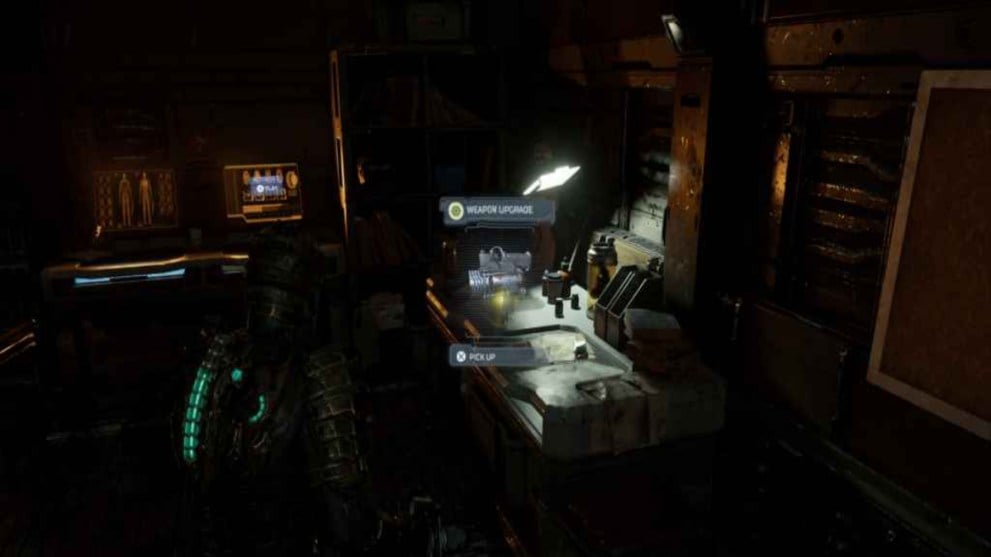
To obtain this upgrade for the Force Gun, while in the Crew Quarters area of the ship, head to the Guest Consultant Suites from the Deluxe Quarters, where you go to destroy the second tendril blocking the passage. The upgrade is on a table in the back room.
Weapon Upgrade 20 – High-Pressure Nozzle (Flamethrower)
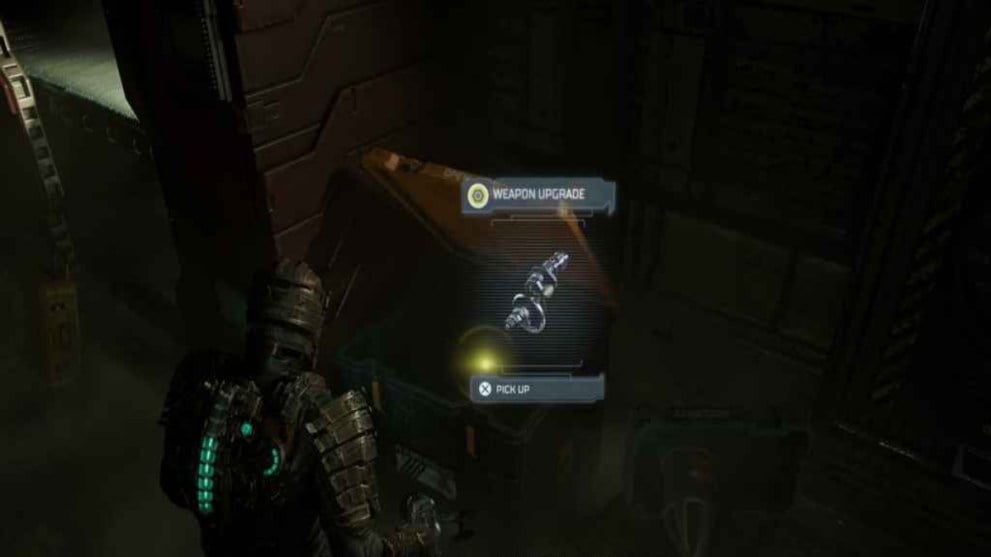
To obtain this final upgrade for the Flamethrower, while in Crew Quarters retrieve the battery from the Deluxe Quiet Bunks and place it in the circuit breaker by the bathrooms. Reroute the power to the doors, then head into the Deluxe Shift Bunks room. Inside will be a Master Override Chest that contains the upgrade.
Chapter 11: Alternate Solutions
Weapon Upgrade 21 – Suspension Module (Force Gun)
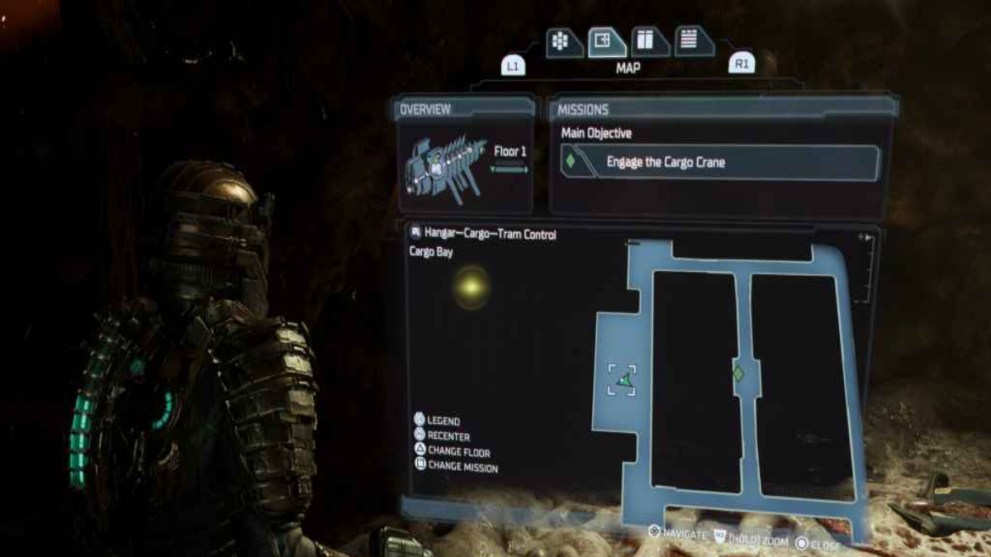
The last and only upgrade to find in this chapter of the game is obtained in the Cargo Hangar at Tram Control. It’ll be inside a Master Override chest surrounded by corrupted Necro-flesh.
That is everything you need to know about all weapon upgrades and locations in the Dead Space remake. We hope you found it helpful, and let us know which of these upgrades you like best, and/or the one you liked least. Feel free to check out our other guides for all the secrets and goodies inside Dead Space Remake.
