
Pin Assets to the Top
In Super Mario Maker 2, when you hit the search button in the upper right it will bring up all the assets you can use to build your levels. The top bar will also display your recently used assets until you use enough to knock some off the list. To avoid having that happen, you can tap and hold on the icon until it shows a little pushpin in the corner.
Not only will it keep the item at the top so you can easily get to it, but pinning assets will also help you remember where commonly used pieces are located. This menu is much less intuitive than the one in the Wii U version, but using the tools at your disposal can help to counter that.
Play Around with Tapping and Dragging
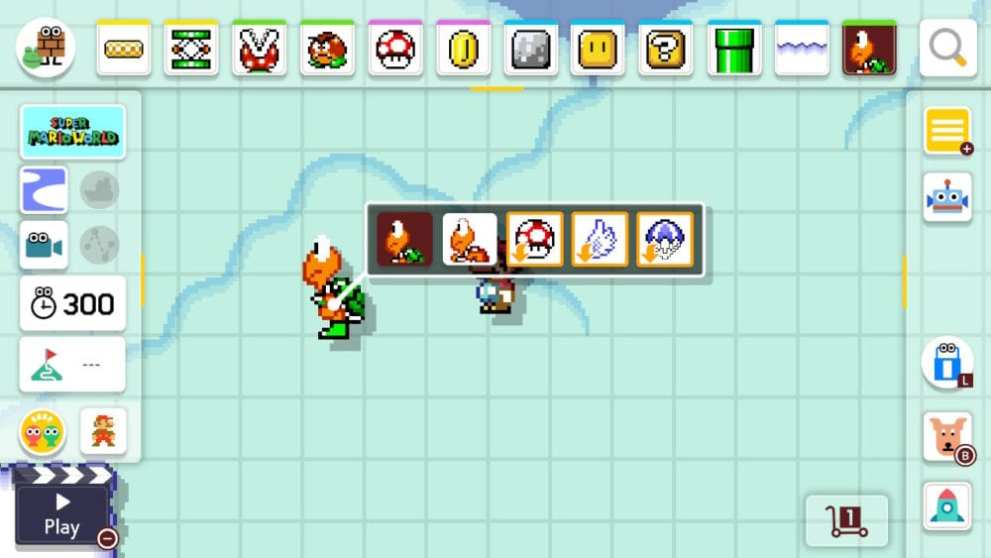
If you want to fill a Bill Blaster with Coins, you need to drag a Coin into the cannon to fill it up. Super Mushrooms can be added to it just through tapping though.
It’s a little wonky, but different parts have different properties and there’s no true rhyme or reason to why they’re set up that way. All you can truly do is just play around with what you’re given.
Try tapping, dragging, shaking, or anything to see how it affects the item you’re using. This is a great way to find new and exciting combinations that you never thought would have been possible. Super Mario Maker 2 is a massive digital toybox, so treat it like one.
Use a Stylus
Using a stylus to create Super Mario levels will give you much more precision than your index finger could ever provide. If you hold it properly, then you’ll also block less of the screen than your hand typically would.
Buying a proper stylus that will work with the Switch is an important piece here as well. The old Wii U or 3DS styluses that you have laying around won’t cut it this time. Luckily, you won’t need to blow a ridiculous amount of money just to pick up a top-of-the-line stylus that will work in Super Mario Maker 2.
Use Mario’s Trail
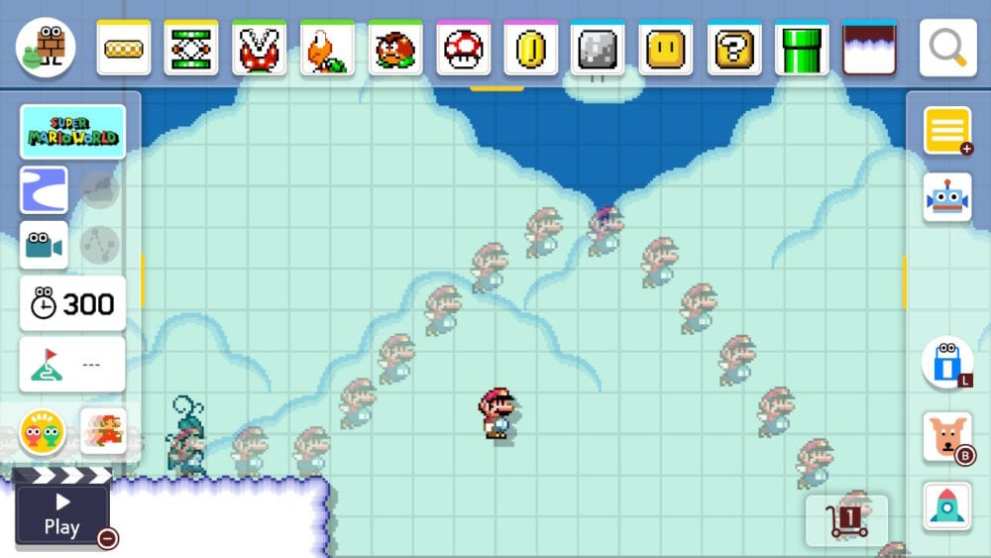
This is an invaluable tool if you’re trying to set up precise platforming levels. Mario’s trail returns from the original Super Mario Maker and it brings along the exact same functionality as it had on the Wii U and 3DS. This tool lets you see the last few movements you made while testing your level up until you died or switched back to editing.
It’s one button to turn it off or on in the edit screen, and there’s truly no reason to ever have it off. It’s extremely helpful even in situations that don’t require skillful platforming. If you’re looking to create a vertical section of dropping platforms, it can help you line up Mario’s falls.
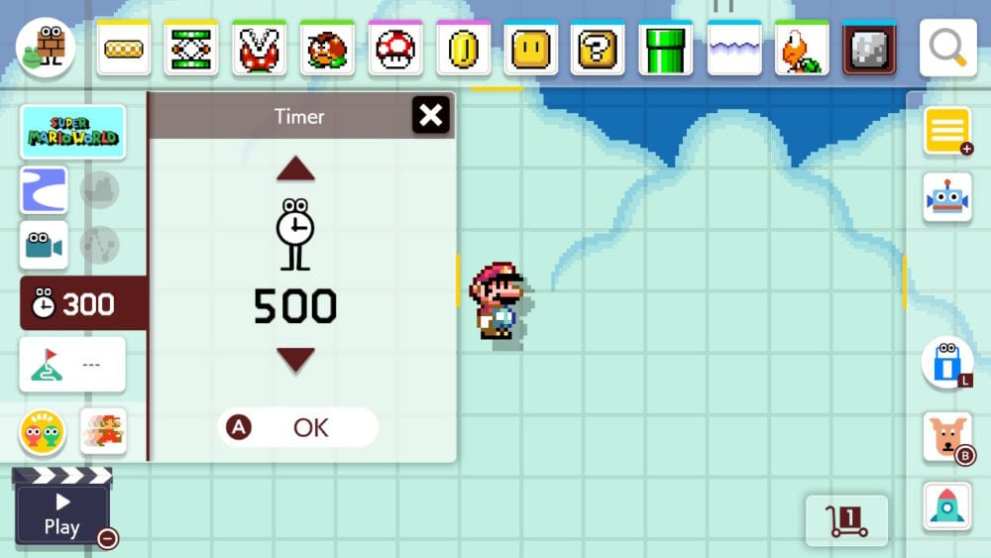
Test Often
If you’re not testing your levels, then there’s a good chance they won’t end up playing the way you envisioned them. Things always seem to make sense when you’re working on them and then when you get to testing it turns out that you’re way off track.
Every time that you jump to a screen or add a new major element to the level you should test it out to make sure that it works on its own, but that it also flows together with the rest of the levels. If you go try any random online level right now it likely lacks cohesion throughout — unless it’s a short level. Don’t be like them; test your levels often.
Tap and Hold the Screen + Moving the Control Stick for Straight Lines
If you need to draw a long straight line horizontally or vertically, moving the control stick while holding down on the screen will make it a breeze. Whether you’re trying to create an enclosed area or a base for the whole level, this is the fastest way to get that done.
Make sure that you tap as far to the right of the screen that you can so you can get maximum coverage with this technique. If you’re in the middle or too far to the left, you’ll have to manually draw the rest of the line once you reach the end of the level.
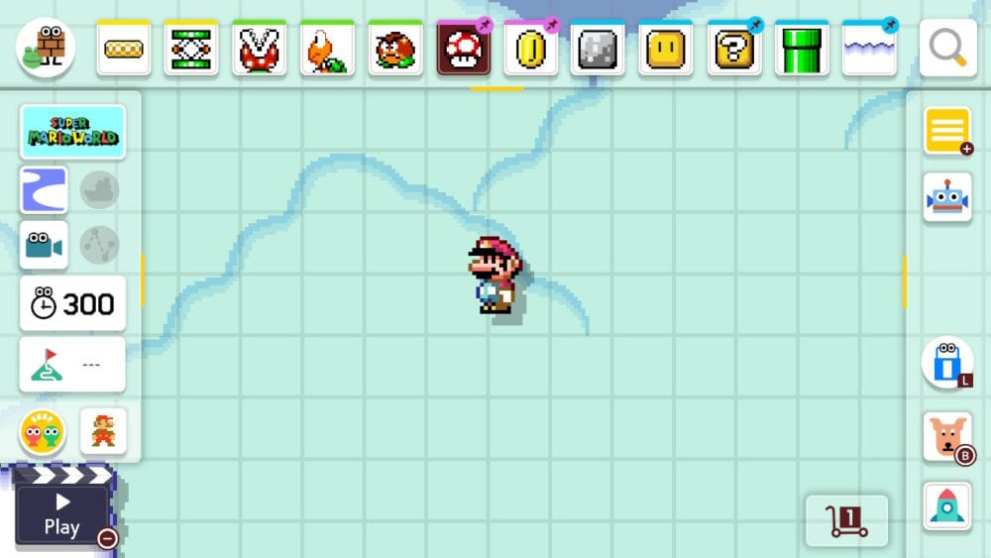
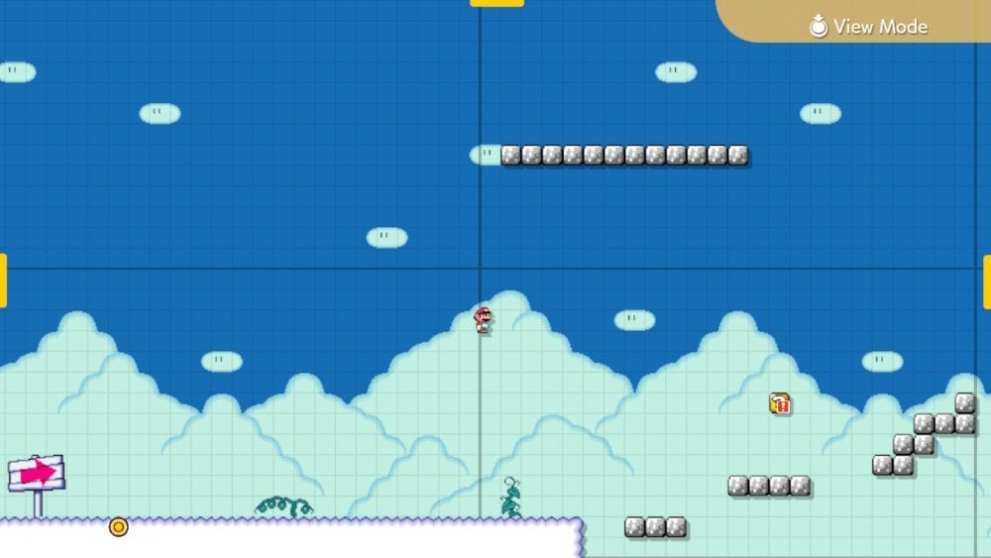
Zoom Out for a Wider View
If you’re working on a massive Super Mario level, then just press down on one of the control sticks to get a better view of your work. With the fully zoomed out view, you can see four full screens at the same time.
This is also a great tool for smaller puzzle-focused levels. Use the fully zoomed out view to observe entire puzzle rooms and how they connect to each other to get a better feel for the flow of the level.
Take Your Time
You don’t have any budgets or timelines to meet, so don’t act like you do when you’re building levels. All you need to do is take your time. Nobody will care if it took you a month to complete building one level if it’s one of the better courses out there.
Go piece by piece when you’re fine-tuning your level to make sure that there’s a purpose for the existence of every element. Cut out what you don’t need and add what’s missing. Test until you think it’s ready and then test it again a few more times.
It’ll never be perfect, but this should help you make consistently good courses in Super Mario Maker 2.
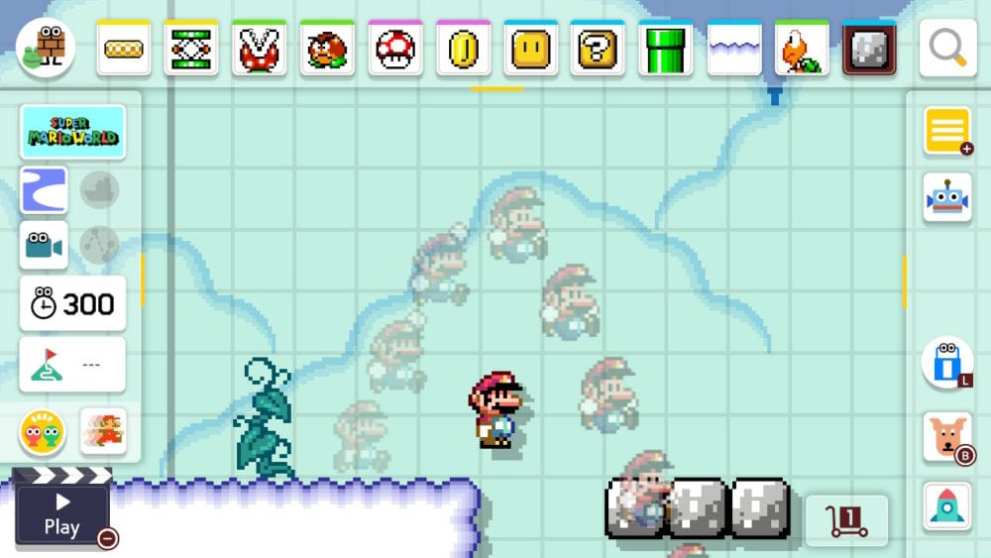
Don’t Overload Levels with Enemies
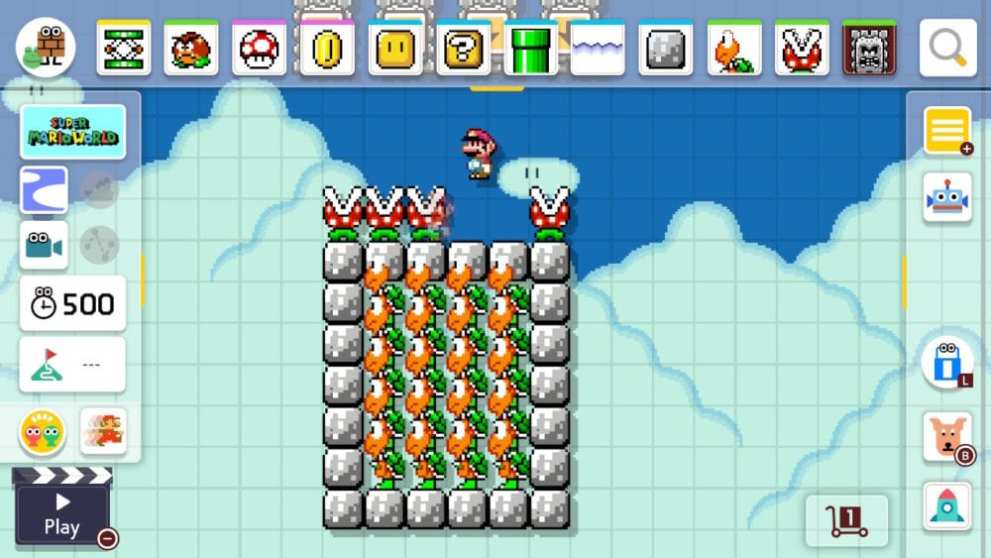
Throwing way too many enemies haphazardly into a level never turns out well. Not only is it a lazy way to create a level, but it’s also just not enjoyable to play. Chances are that your level will get a multitude of deaths, but these levels rarely feel gratifying in the end.
Besides being unnecessarily difficult, having too many enemies on screen can make them clip into each other and it just looks bad. There are ways to do this properly so it doesn’t look bad or ruin the quality of the level, but it’s best to avoid overloading courses with enemies if you’re just getting to course building in Super Mario Maker 2.
Let Other People Test Your Levels
Besides testing your levels repeatedly, this is one of the best habits to form when you’re getting into creating levels in Super Mario Maker 2. Let your friends, family, facebook groups, and anybody else you can find test your levels.
Your thought progression works in a completely different manner than anybody else, so use those resources around you to help open your eyes to new level building ideas.
If you have to upload your levels in order to get feedback, then go for it. Just make sure that you use the feedback you receive to test out suggestions. Always test before committing to a change just even if it sounds like a fantastic idea.
Create an Outline Based on a Theme
If you’re facing a bout of creator’s block, then think of your favorite Super Mario levels and what made them unforgettable. Most of the time you’ll find that it was a specific theme or idea that makes the level so memorable.
Of course, don’t just copy it block for block. Instead, use the course in your mind as inspiration.
The best way to avoid creating a carbon copy is by taking the inspiration and creating a basic outline of the level. Just mark certain areas with elements that you want to place throughout the level and then flesh them out further once you finish up the outline. It will make the creation process markedly easier if you go one small bit at a time and then time them together, so they flow nicely.
Get Used to Using Buttons for Copying and Deleting

The Switch doesn’t provide you the same advantages of the Wii U Gamepad when it comes to level creation in Super Mario Maker games. The touchscreen works great on both, but if you want to play on the TV in the newest games then you’ll be forced to use a controller to build your Super Mario contraptions.
This means that you’ll need to get used to using the buttons for copying, deleting, and undoing your last placement. The handheld mode gives you access to on-screen versions of these buttons, but using a combination of placing items with touch and using buttons for making edits is incredibly efficient.