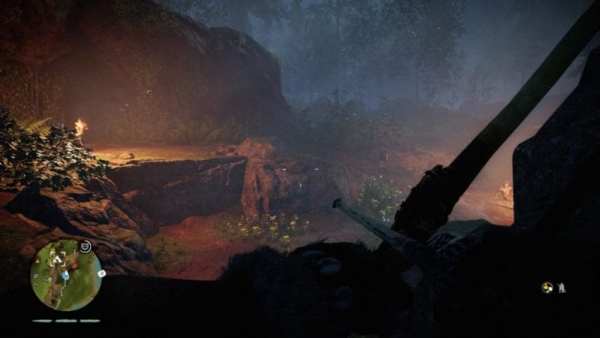
Far Cry Primal has two different types of locations you can take over scattered throughout the land of Oros. The larger, more challenging locations are outposts. These require you to clear out an entire camp in order to claim it as your own. Where bonfires usually have only two or three enemies, outposts can easily have upwards of 10, plus the option to call in more if you get spotted.
These can become exceptionally difficult as you progress through the game and discover new enemy types. Plus, there is always the chance of the wild interfering, so you’ll need an approach that can deal with all scenarios if you want to maximize your XP gains from these locations.
We’ve put together a few tips and tricks to help you easily clear all of the outposts in Far Cry Primal.
Learn These Skills
After the initial tutorial mission, you’ll immediately be let loose in the land of Oros and be able to do as you please. While it’s tempting to begin taking over the world with nothing more than your wits and a bow, it would be best to complete the first few story missions and some activities so you can unlock these skills under their respective trees:
Survival Skills
- Primitive Stealth (allows you to throw rocks, but doesn’t automatically work when you first start the game, for some reason)
Beast Master Skills
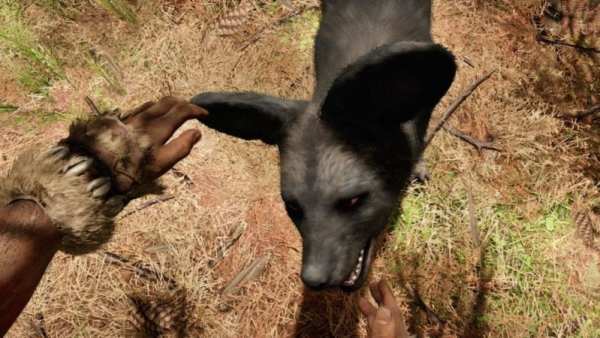
- Tame Canines (being able to bring at least a wolf along will help with stealth quite a bit)
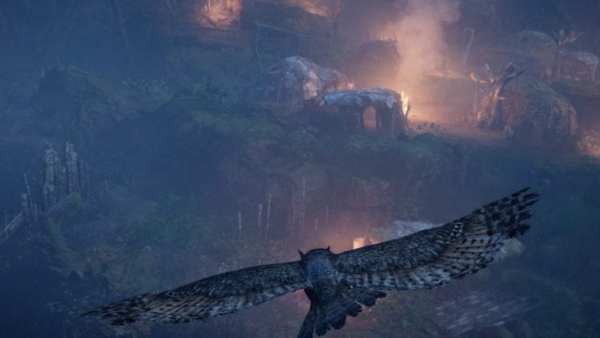
- Owl Companion (the earliest scouting ability you’ll get)
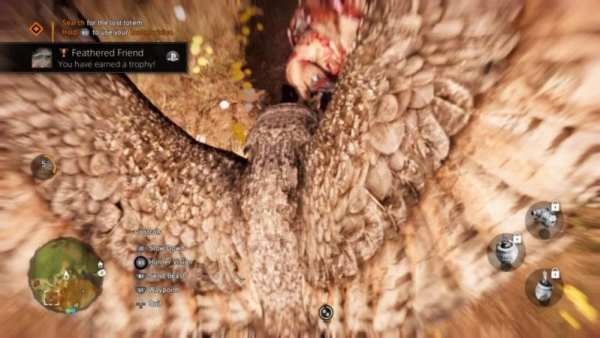
- Owl Attack I & II (can pick off one enemy with your owl before needing a cooldown)
While there are many other skills that will make your life easier, these basics are all you really need to clear outposts with perfect stealth. As you progress, you should invest in different Takedown skills, as well. Those will come in handy if you want to get a little more up-close and personal.
Completely Scout With Owl Before Using Its Attack
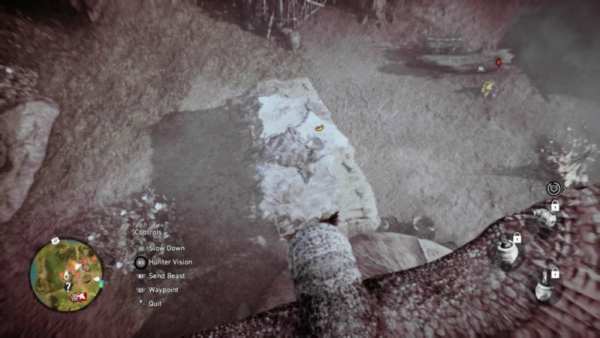
What makes the owl such a handy tool is the fact that it flies around. This means you can tag enemies on the other side of hills, mountains, walls, trees, or whatever else. You will get the urge to knock an enemy off of a cliff, but hold off on that. Even with the best cooldown upgrade, you will have to wait an entire 40 seconds before you can call your owl again.
Make sure to fully scan the area before picking off a target. With it’s base functionality, you’ll be able to mark all human enemies and alarms permanently. This will make your approach as Takkar much easier.
Know The Enemy Symbols
When scouting an enemy outpost with your owl, you’ll notice that symbols appear over your enemies’ heads much like they did in previous Far Cry games. Each of these will let you know what type of enemy that is.
- Horn – This enemy will summon more warriors if it spots you. Kill him/her before the horn is blown. Any enemies with the Horn symbol should be your primary targets.
- Diamond – This is your basic enemy, easy to take down, no armor, and will only pose a serious threat in large numbers.
- Spear Head – This enemy type uses spears and standard bows. It will ram you if you get too close, or attack from long range dealing heavy damage.
- Shield – This is a heavy enemy. They are not easy to take down, and will not succumb to a single head shot. Leave these guys for last if you don’t have the Heavy Takedown skill.
- Target – This is a sniper. They’ll normally be perched on a cliff or on top of a hut near the outskirts of the outpost. You can usually sneak up behind one or at least situate yourself for a head shot.
- Lightning Bolt – Crazed enemies. They will charge at you head on without a single care for the world. They go down easily, but can spell death if there’s more than one charging you.
- Bomb – Enemies with this symbol will throw a poison bomb if they’re Udan, or a fire bomb if they’re Izila. These have large areas of effect and can do serious damage. Plus these enemies have amazing throwing arms.
- Any of the Above, Only Yellow – Enemies with yellow symbols are elite. This basically means that they are armored and stronger.
Also keep an eye out for clothing. Any enemy type can wear a bone mask which prevents against simple head shots. You won’t come across many until much later but still look out for them. If you see one in an outpost, use either your owl or your pet to take him/her out.
Call Your Pet Back After Each Kill
You can send your pet to attack an enemy by aiming at it and hitting ‘R1’ on PS4 and ‘RB’ on Xbox One. After a successful kill in an outpost, it’s a good idea to call your pet back by holding right on the d-pad. While it’s in combat, other enemies will attack, so it’s better to bring it back immediately for healing, then sending it back out.
If you’re worried about your enemies hearing you whistle, don’t. You can whistle the entire theme song to the Andy Griffith Show and they wouldn’t bat an eyelash, so keep your pet safe.
There is No Shortage of Rocks, Throw to Your Heart’s Content
Rocks are used as a distraction in Far Cry Primal. They’re perfect for leading a straggler to a specific spot, or for distracting a group so that you can slip by. Outposts later in the game have more huts, blocking your owl’s view of some enemies, so you’ll need to get close. Distractions are the best way to keep yourself unnoticed if you need to do some personal reconnaissance.
Rocks can also injure enemies, and can even kill them if you obtain the Sling. So use that to your advantage while infiltrating, too.
Fire is Your Friend, Just Give it Some Distance
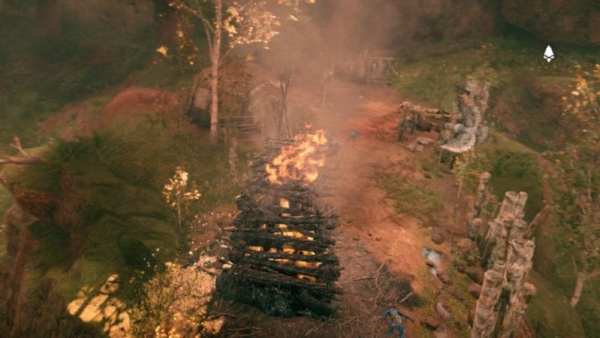
Fire is a good way to eliminate groups of enemies and to cause a panic within an outpost. Setting something on fire will alert the enemy to your presence, causing them to search. As long as you stay out of sight until their search is over, you will never be spotted and it will not be held against you.
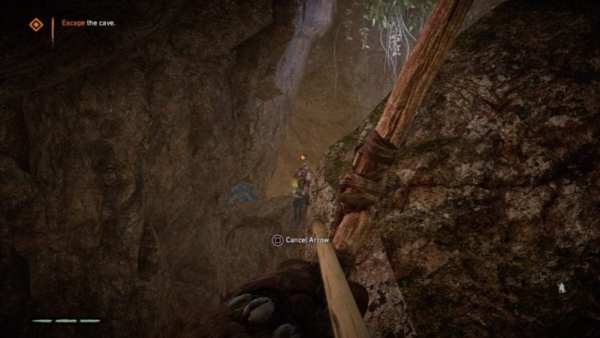
Using Flaming arrows in broad daylight will make it harder for the enemy to tell where it came from. Set their huts on fire with them inside, find piles of wood, free a caged animal, do anything that fire allows and enemies will suffer.
With these tips, you’ll be capturing outposts with ease in Far Cry Primal. If you need help with any other aspects of this game’s cruel world, be sure to check out our expanding wiki guide.

